Rorke's Drift Overview and Site Bimble

Beez Neez now Chy Whella
Big Bear and Pepe Millard
Sat 30 Nov 2019 23:47
|
Rorke's Drift Overview and
Site Bimble
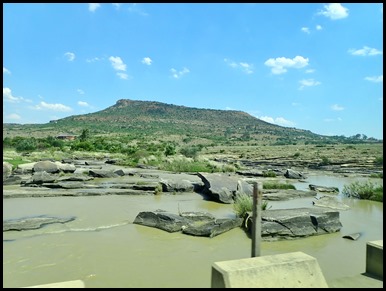 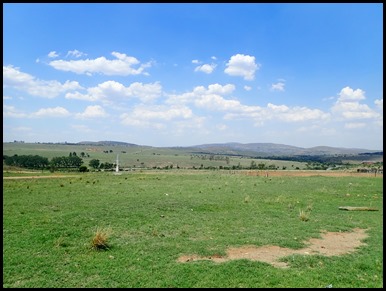 Approaching Rorke’s Drift and a mile away.
As we neared we
read an overview from our Wars of the
Region pamphlet: The Anglo Zulu War 1879. The continuing strengthening of
the independent Zulu nation by King Cetshwayo was perceived as a growing threat
to the colonists of Natal. and in December 1878 the British Colonial government
issued an ultimatum that was impossible for the Zulu nation to accept as it
required them to disband their army and swear allegiance to Queen
Victoria.
When these demands were not met,
three British columns, under the command of Lieutenant-General Lord Chelmsford,
who despite considerable experience in the field, nonetheless made the fatal
mistake of underestimating the fighting ability of the Zulus, crossed the
Thukela and Buffalo rivers and invaded Zululand.
The Zulus retaliated and on
Wednesday the 22nd of January 1879 the Zulu Army of over 20,000 warriors
attacked and overran the British camp at Isandlwana, slaughtering some 1,400
Imperial troops, colonial volunteers and native levies. Survivors of the route
fled along a tortuous trail, now known as the Fugitive’s Drift, among these were
Lieutenant Melville, who was trying to save the Queen’s Colours and Lieutenant
Coghill who came to his rescue when he was swept off his horse in the river.
Both were killed on the Natal bank of the river as they scrambled up the
hillside. (They were posthumously awarded the Victoria Cross).
After the Battle the Zulus
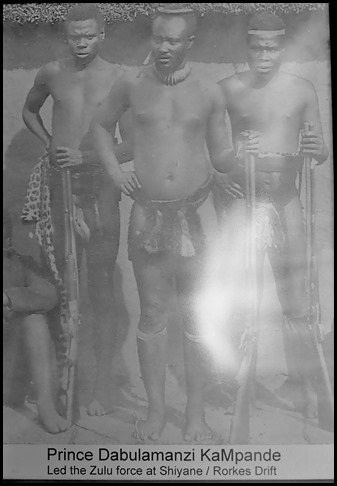
reserve force of some 4,000 warriors led by Prince Dambulamanzi went on to
attack the British garrison at the Swedish Mission station at Rorke’s Drift,
that was being used as a commissariat and hospital. Here the “heroic hundred”
repelled the attackers after a twelve hour battle. The British lost 17 men and
won 11 Victoria Crosses, the most ever awarded in a separate military
engagement.
There followed the massacre of a
British convoy at Myer’s Drift, the disastrous British attack on Hlobane
Mountain where the British were once again outmanoeuvred by the Zulus and only
escaped after suffering severe losses. The following day the Zulu army attacked
the British camp at Kambula and were driven off also suffering very heavy
casualties. The Zulus were again defeated at Ginginhlovu when they attacked the
British garrison besieged at Eshowe. Then came the death of the Prince Imperial,
the last hope of the Napoleonic dynasty who was killed when his patrol was
ambushed in Zululand. Finally there came the great ritual battle of Ulundi on
the 4th of July which ended with the defeat of the Zulu Army, forcing King
Cetshwayo to flee.
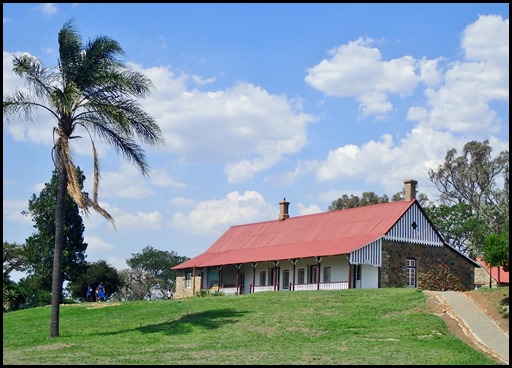 After paying the ladies at the gate who were enormously pleased to
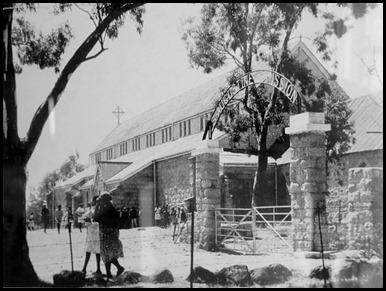
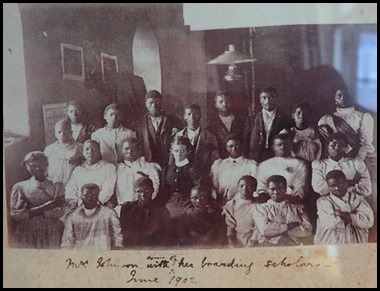
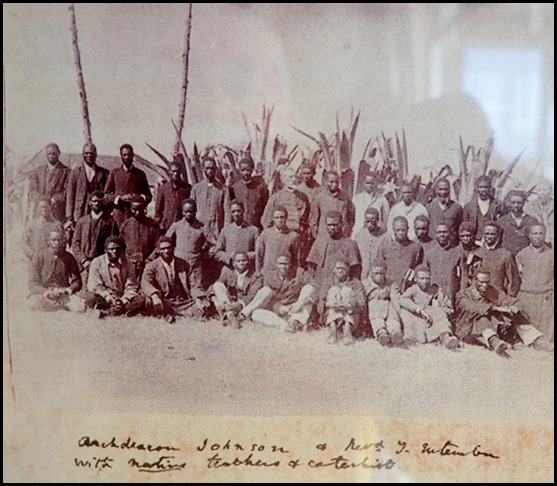
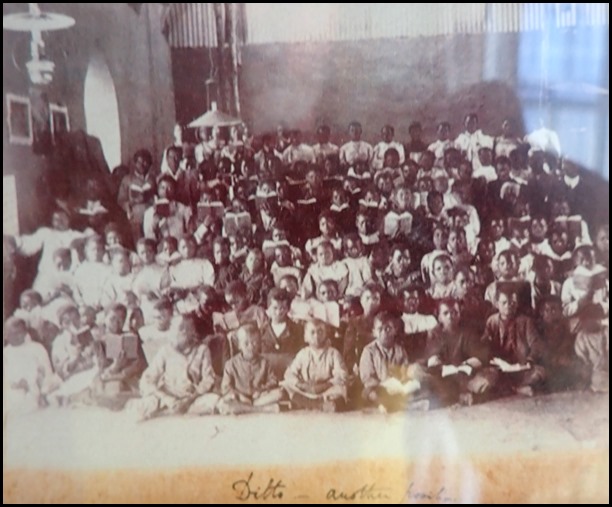
see us, we bought a little information pamphlet and headed towards the museum. To our left a teashop, a good place to get our
bearings, on the walls were many old photographs.
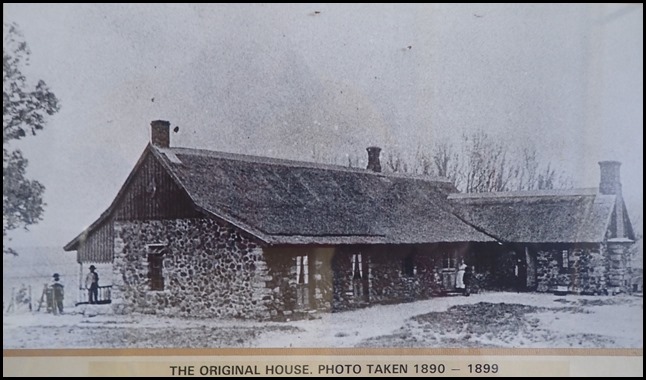 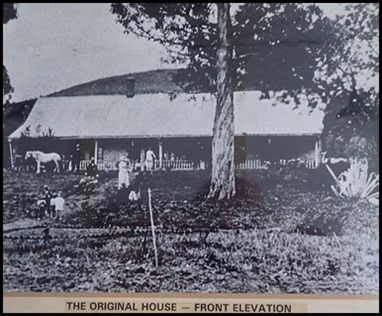 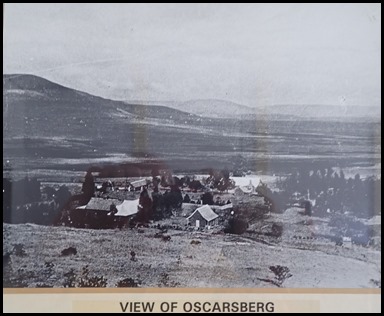 From our pamphlet – Introduction:
The battle site at Rorke’s Drift / Shiyane has been considerably modified since
the battle took place on the night of the 22nd of January 1879. None of the
buildings standing at that time remain and even the vegetation in the area is
different.
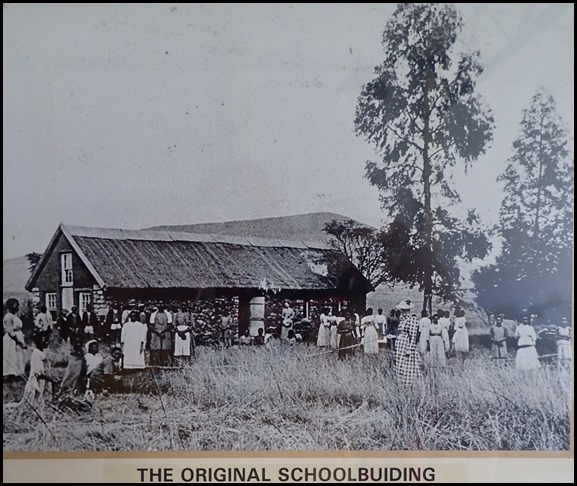     The building which was situated
on the site where the museum is now housed was built by James Rorke and became
Missionary Otto Witt’s first home. It was taken over by the British and used as
a hospital. The present church stands on the site of the commissariat store,
which had been Rorke’s trading store. The house, store and a cookhouse were the
only buildings on the site at the time.
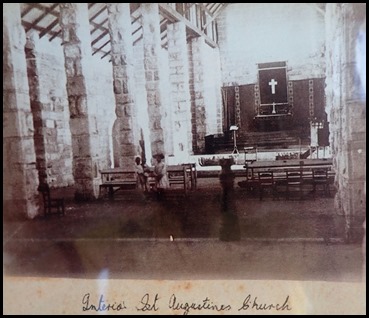 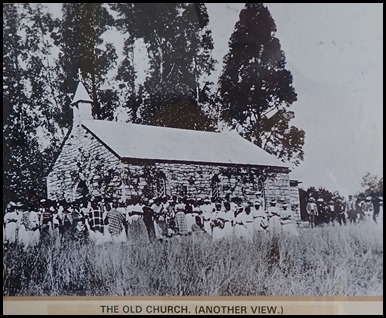 From contemporary photographs it
is evident that the country around Rorke’s Drift / Shiyane was once open
grassland, apart from a number of trees and shrubs that were planted on the
northern side of the mission station. However, overgrazing has resulted in scrub
encroachment and the spread of thornveld – a common problem in many areas of
KwaZulu Natal. Several varieties of exotic trees have also been introduced. Bear
these facts in mind as you explore the site, and try to imagine Rorke’s Drift /
Shiyane as if it were in 1879 – a lonely outpost on the border between Natal and
Zululand.
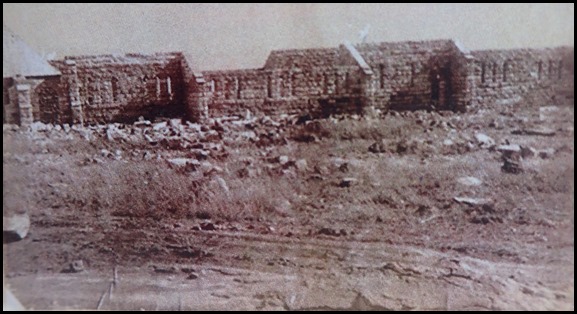 Sadly, no label to
this picture.
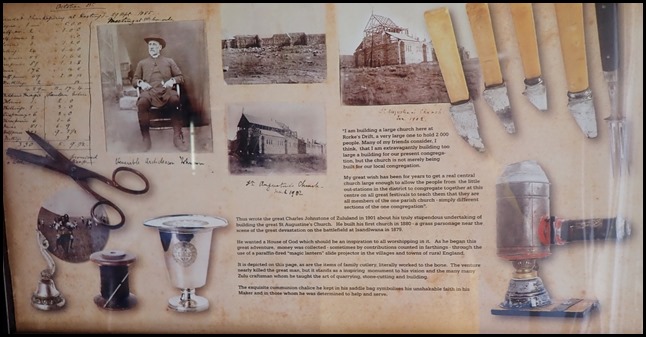 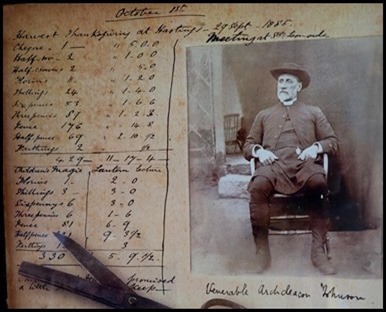 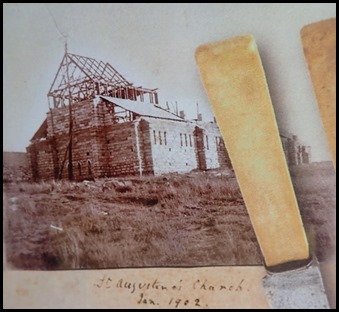 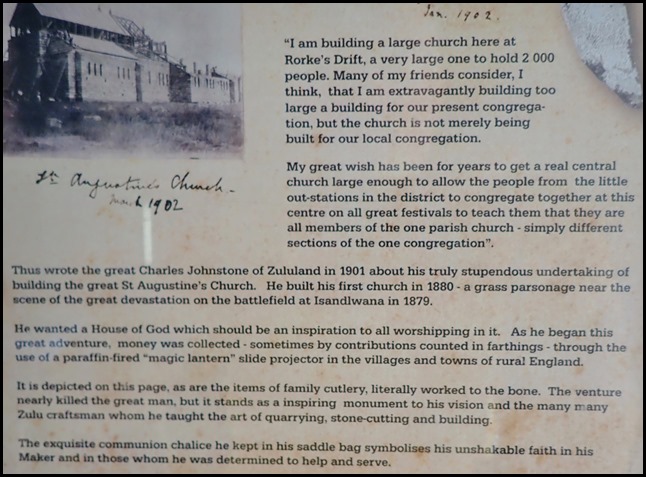  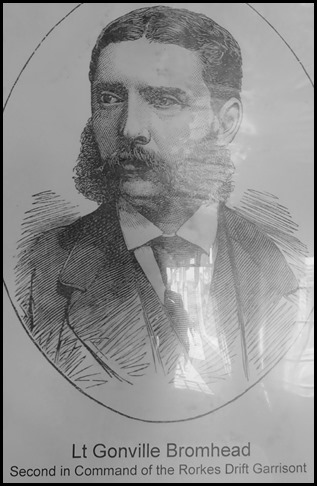 Shame about the glare but I thought
these four looked so very proud.
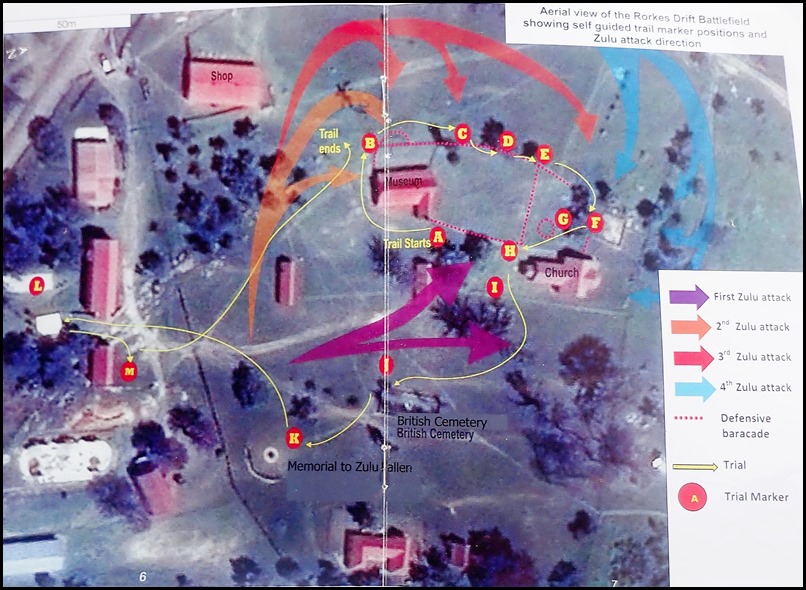 The map in
the middle of our pamphlet.
We headed for Marker
A: When the main British force under General Lord Chelmsford
crossed the Mzinyathi (Buffalo River) on the 11th of January 1879 to invade
Zululand, a small garrison numbering about 390 men, was left behind at Rorke’s Drift / Shiyane
to guard the “mountain” of supplies and the hospital. Life had been quiet for
the garrison, until the early afternoon of the 22nd of January, when disturbing
news was recived that the British camp at Isandlwana had been
overrun.
After a short discussion about
what to do, the British officers decided that their only hope of survival was to
defend the post. A barricade made of mealie bags, approximately four feet (1.2
metres) high was hastily built. The stones in the ground between where you are
standing and the church demarcate the southern defence line.
The garrison was faced with a
further crisis when 250 members of the Natal Native Contingent deserted and fled
in the direction of Helpmekaar. The British force was in a desperate situation
as a mere 139 men remained, of whom about 35 were patients in the
hospital.
Lieutenant Chard, the senior
officer present, quickly had a line of biscuit boxes placed in position to link
the southern and northern defence lines, thereby creating a smaller and more
easily defendable area immediately in front of the commissariat store, should
this become necessary.
The defence barricades had almost
been completed when the iNdluyengwe ibutho (regiment), made up of young men,
appeared round the north-western slopes of Shiyane (Oscarsberg Hill). Their
initial attacks were against the line of defence where you are now standing,
including the rear of the hospital and the commissariat building. The British
checked the iNdluyengwe with steady rifle fire, forcing them to take cover
whenever they could.
Marker B: As the
iNdluyengwe found themselves checked along the southern perimeter, they swung
round the west side of the hospital and attacked the defence positions, probing
for a weakness. The mealie bag barricade in this area had not been finished and
the British rifle fire was less intense, with the result that it was a weaker
position than others. The Zulu were thus able to get right up to the barricade
itself, and some desperate hand-to-hand fighting took place. Eventually the
British were forced to retire from this sector.
Marker C: Chard
had ordered a short “dog’s leg” of mealie bags to be built to connect the corner
of the hospital with the northern barricade. It was this cover that some of the
British soldiers retired from their positions on the north-west
corner.
The arrival of the remaining
three Zulu regiments, the uThulwana, uDloko and iNdlondlo, together with sniper
fire from sandstone caves on the slope of Shiyane, eventually forced Chard to
withdraw all the men, other than those in the hospital, to the area in front of
the commissariat store.
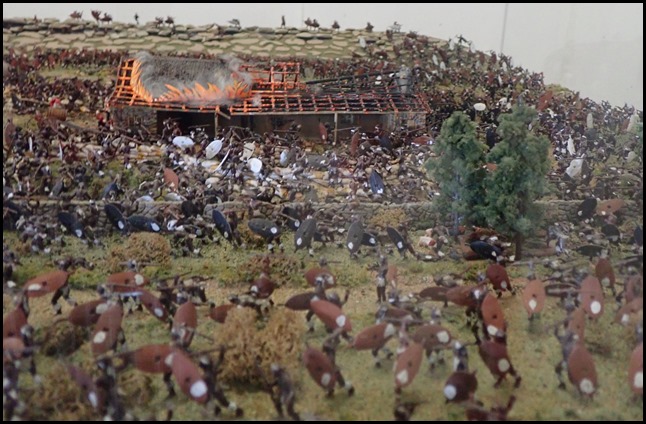 Zulu forces set fire to the
hospital’s thatch roof (impressive model in the
museum) and succeeded in breaking into the building. Several of the
rooms on the southern side of the building (facing Shiyane Hill) had no
inter-leading doorways, but only exterior doors and windows. As the Zulus held
the rear of the building, the men in the hospital had to break through the walls
which, fortunately for them, were made of soft mud
bricks.
By fighting their way from room
to room, the British defenders were able to evacuate most of the hospital
patients. The retreat from the hospital to the area behind the biscuit box
barricade was extremely hazardous as the intervening ground was only defended from behind the biscuit
boxes.
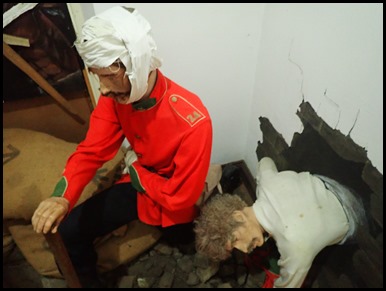 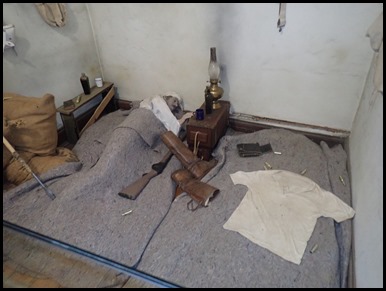 Dioramas in the
museum.
Marker D: As the
battle progressed, the Zulu massed on the flat land in front of you, extending
round to the eastern end (towards the river). They took cover in the long grass
and in the shrubbery and made a series of fierce attacks on the British
defences. Several warriors took advantage of the sandstone ledge below,
periodically popping up and firing at point blank range. The sandstone ledge and
the mealie bag barricade provided a difficult barrier for them to overcome.
Marker E: Where
the biscuit box wall met the barricade. From about dusk, the entire British
force occupied the barricaded area between the markers E, F and H – note how
small this defended area was.
Marker F: This
is a reconstruction of the cattle kraal which stood here at the time of the
battle and played an important part in the defence. The British were forced to
evacuate the farther half of the kraal. When the British counter-attacked during
the middle stages of the battle, the Zulus were forced to
retire.
Marker G: During
the night Chard ordered that a small redoubt be built with some of the remaining
mealie bags, in case the Zulus broke into the final defensive area. The stone
circle marks the position of this redoubt, which was about nine feet (three
metres) high and hollow in the middle. The badly injured men were hoisted inside
to offer them greater protection and snipers were positioned on the top to shoot
any Zulu who breached the defences.
Marker H:
Archaeological research has revealed parts of the foundation of the commissariat
store, which is now marked by this line of stones. Most of the foundations are
under the church.
After the battle, the British
soldiers pulled off the thatch roof in case the Zulus returned and set fire to
the building. In later years the missionaries broke the structure down and used
the stone and timber to build the original part of the church.
Marker I: The
cookhouse and ovens that were used by the missionaries and by the British stood
in this position. During the early stages of the battle the Zulus used these
structures as cover from the fierce Martini-Henry rifle fire.
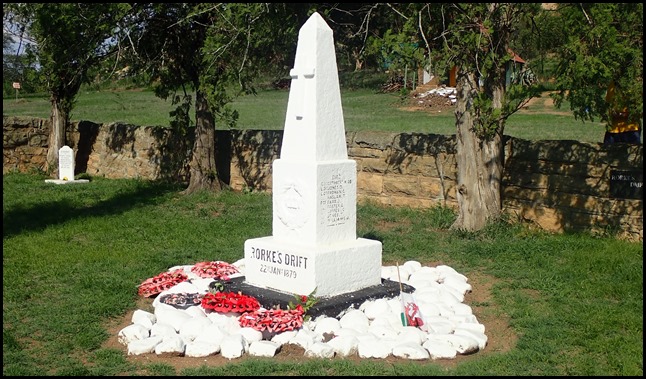 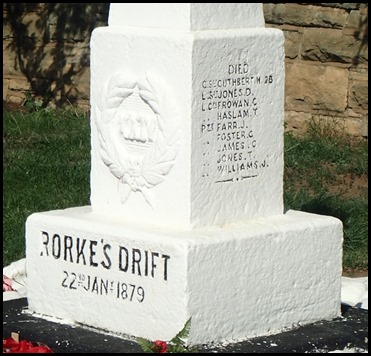 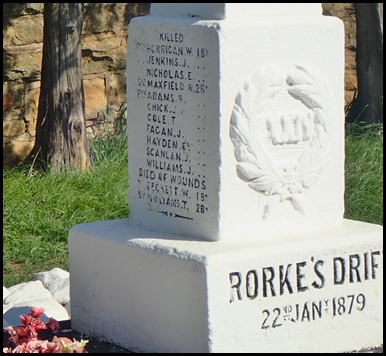 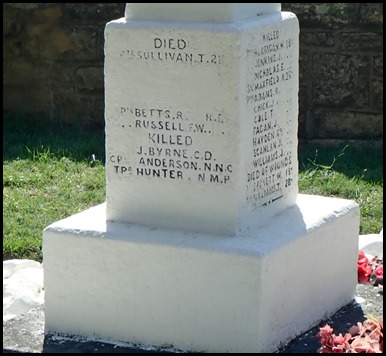 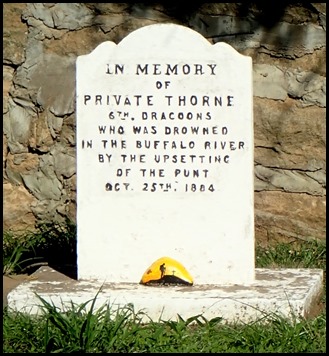 Marker J: This
is the site of the British Cemetery. British soldiers
killed in the battle were interred here, their names were inscribed on the stone
monument erected by their comrades.
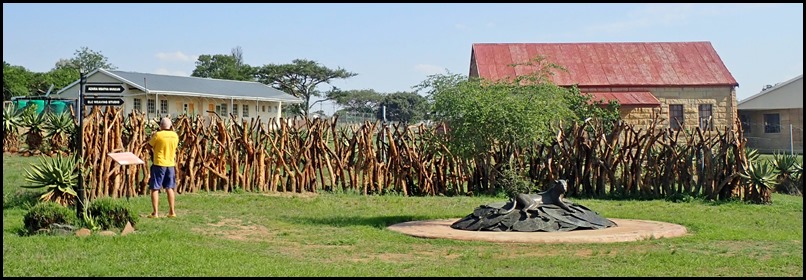 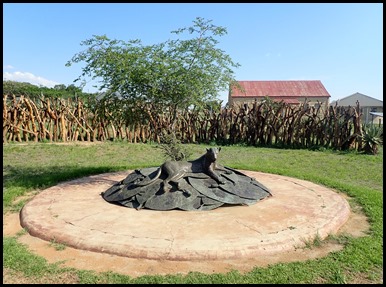  Marker K: The Memorial to the Fallen
Zulu. This bronze piece, commissioned by Amafa Heritage KZN, and sculpted
by Peter Hall in 2005, was erected in 2006. It depicts a leopard, representing
the Zulu monarch, protectively covering the shields of the fallen Zulu warriors.
The tree growing in the centre of the memorial is a Buffalo Thorn (Mphata or
uMlahlankosi), traditionally used by the Zulu royal family, also used to bring
home the spirit of the departed who have died far from home, as did most of the
warriors who perished in this battle.
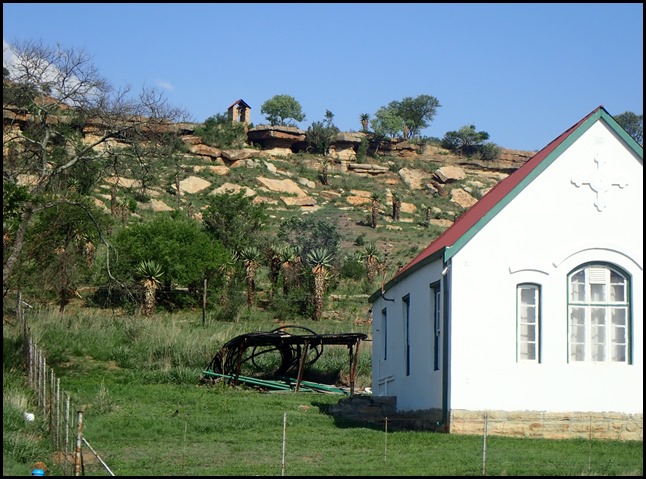 The bell on the hill
- Marker
L: This is the cemetery where the Zulu dead were
interred. After the Zulu retreat, most of the dead could not be retrieved and
were interred by the British in hastily prepared mass graves. The names of the
vast majority of those Zulu who perished remain lost to
history.
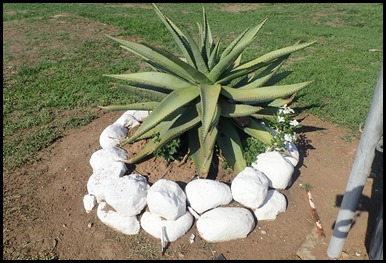
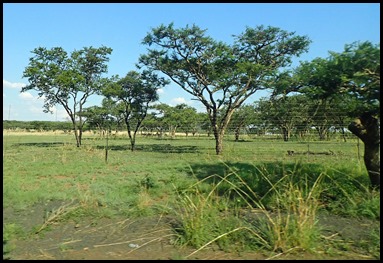 An aloe in
memorial white stones and the cattle
field.
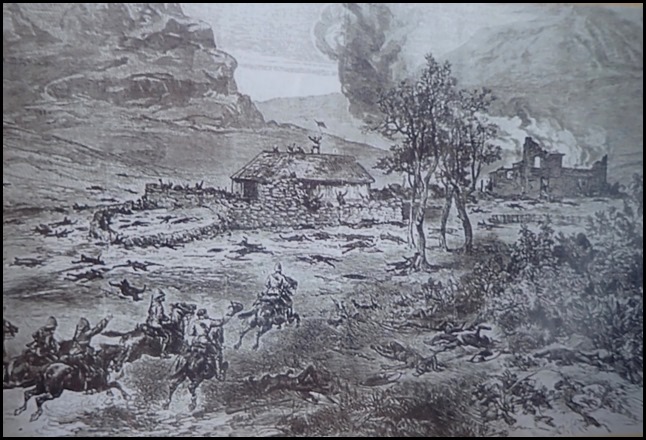 This engraving depicting relief mounted troops on the morning
following the battle appeared in the illustrated London News on the 8th of March
1879, news relating to the Anglo Zulu War was followed with intense interest in
Britain.
Conclusion: When the Zulu failed to capitalise
on their capture of part of the stone kraal, the ferocity of their attacks
started to subside. From about 22:00 there were no further concerted attacks,
but simply a number of sorties involving small numbers of warriors. However,
periodic shouts of “uSuthu” kept the British defenders unnerved and prevented
them from relaxing. Occasional firing still took place from the slopes of
Shiyane and from the garden. When dawn finally broke at about 04:00 the Zulu
retired backwards towards Isandlwana.
Quite
extraordinarily, less than 150 British defenders had succeeded in warding off
attacks of some 4,000 Zulu warriors for nearly 12 hours.
A question often asked is why the
Zulu failed to capture the post at Rorke’s Drift / Shiyane despite overwhelming
odds. The Zulu force had left Nodwengu, the military establishment outside
Ulundi, on the 17th of January. While they travelled with the minimum of
supplies, the distance is over 100km and the men had lived off the land for some
of the time. On the 22nd the Zulu force which attacked Rorke’s Drift / Shiyane
had covered another 12km from Isandlwana and had crossed the flooded Mzinyathi
River. The force may already have been somewhat drained, despite the fact that
the rest of the Zulu army had inflicted a severe defeat on the British at
Isandlwana earlier in the day.
It appears too that the Zulu
attacks were poorly co-ordinated. Prince Dabulamanzi, who commanded the Zulu
force, may have been responsible for this. He was not a general, but because of
his status within Zulu society, and through his forceful personality, he assumed
command. As for the British force, it had no option but to fight. Under the
circumstances it organised well by building a very effective barricade and
having ammunition readily available. Disciplined marksmanship and cool head
perhaps won the day, although clearly there were deeds of quite extraordinary
heroism on both sides.
On the British side, eleven
Victoria Crosses were awarded for gallantry and as many, if not more bravery
awards, could have been awarded to the Zulus. 17 British soldiers were killed
along with an estimated 500 Zulu warriors. Of 20,000 rounds of ammunition which
the British started the defence, only about 600 remained at the
end.
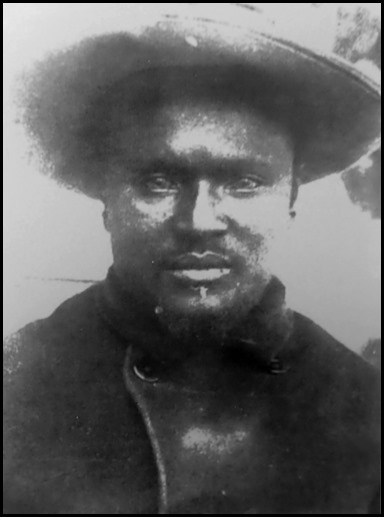 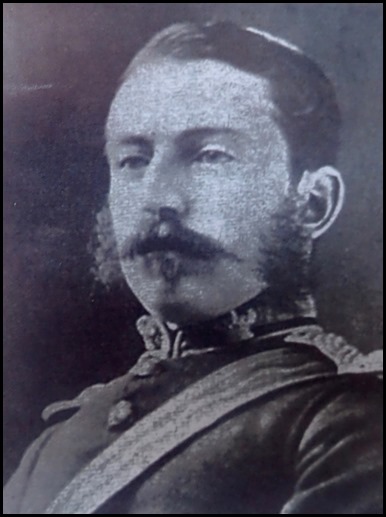 Prince Dabulmanzi KaMpande, brother of King Cetshwayo, led
the Zulu attack on Rorke’s Drift / Shiyane. This photograph was taken after the
war in about 1882. He actively opposed the post-war division of Zululand and was
killed in a dispute in 1886. He was buried at Nondweni, near present-day
Nquthu.
Lt. John Chard,
senior officer at Rorke’s Drift / Shiyane. He was one of the recipients of the
Victoria Cross for bravery at the battle. After the war he was posted to Cyprus
and Singapore, and rose to the rank of colonel. He died of cancer, aged 49 in
1897.
 We left Rourke’s Drift with the sun setting, lots to talk about as we headed to our
digs.
ALL IN ALL SO PLEASED TO HAVE
BEEN TO THIS HISTORIC SITE
A SCHOOLBOY DREAM COME
TRUE |
