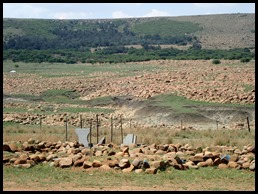
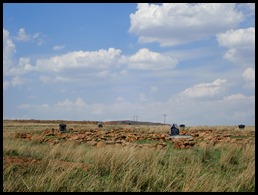
Isandhlwana Battle Site

|
The Battle of Isandhlwana
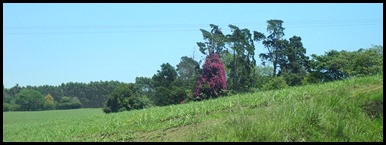 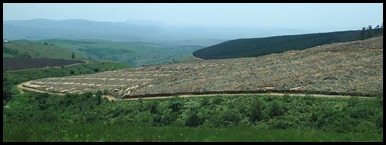 We left Beez Neez and Slow
Flight at nine heading for the Champagne Valley in Drakensberg for our next
road trip. Instead of the fast route (three and a half hours) we took a scenic
route for Bear to tick off a major wish by visiting Rorke’s Drift. We watched the countryside
change to wide open fields, through thousands of
acres of eucalyptus farms. There was no reason not to
stop at Isandhhana as it was en route – the first of three battles we would
learn about.
 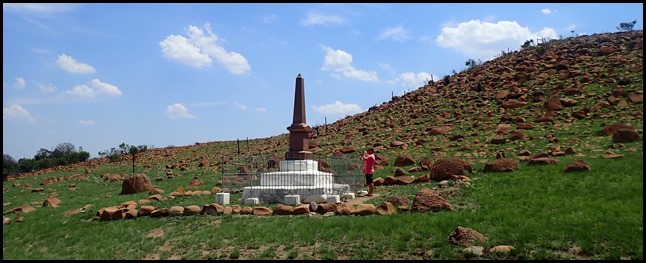 The Wicked Witch took us on a parallel
track and we ended up away from the official visitor’s car park (found later)
and took us behind a few small houses. Not to be thwarted we bimbled toward a
high fence and hoorah, a kissing gate, through a
field, we went toward a memorial away to our
left.
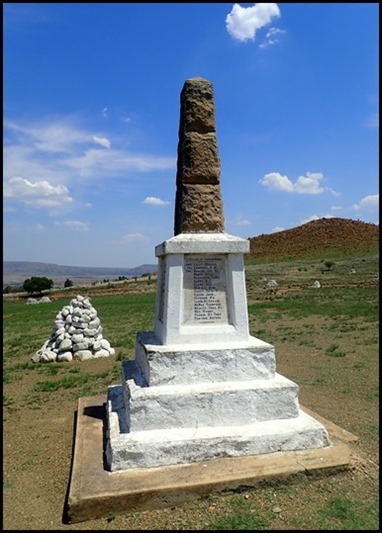
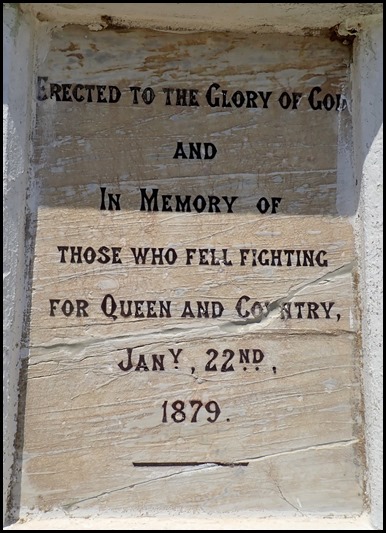
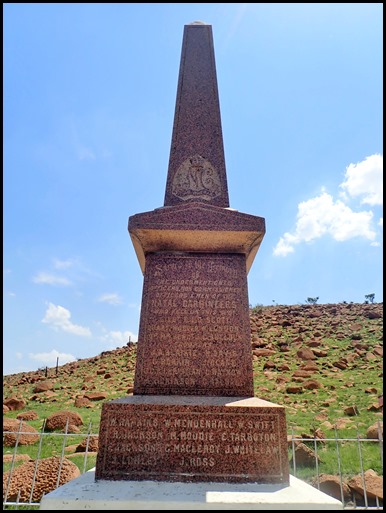 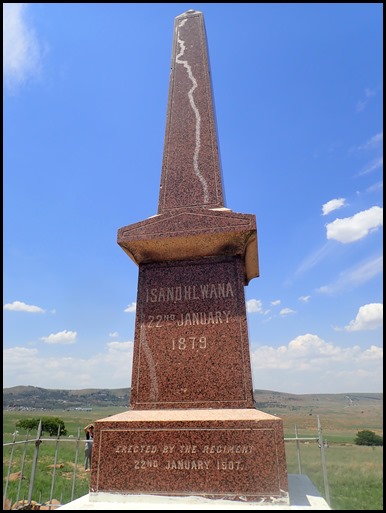 Memorial erected in
1907.
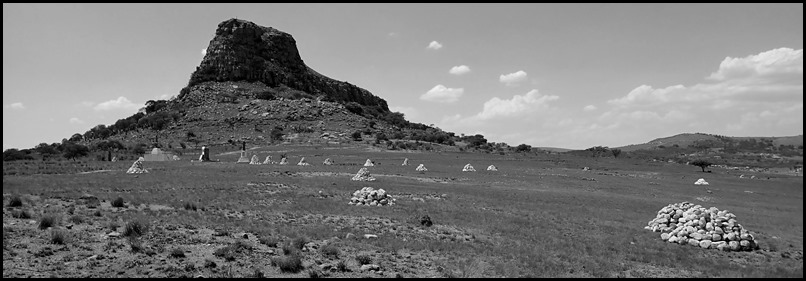
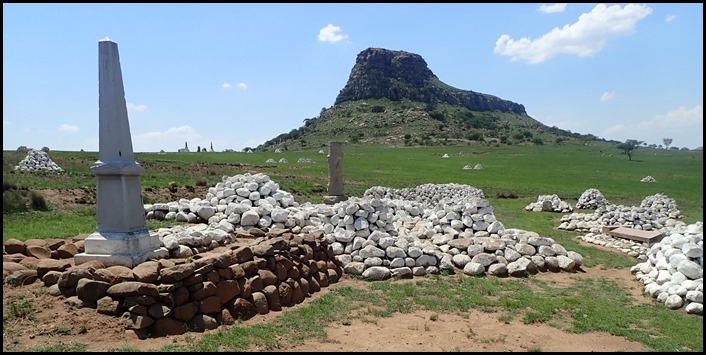
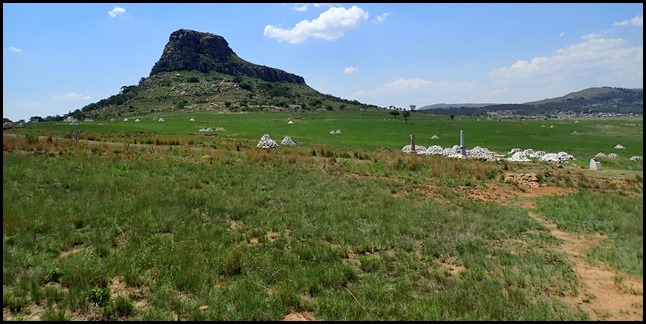 From this memorial we could look across
toward many graves of men who fell on the
battlefield. Inside pamphlet ‘Wars of
the Region’ shows map of eighty places of battle and memorial with brief
descriptions. On the reverse are brief histories of who fought with who and why.
From Early Zulu History.........By the mid
1820’s the Zulu Nations had emerged as the most powerful and influential nation
in southern Africa......... The final sentence reads: Despite
understandably subjective criticism, contemporary accounts from shipwrecked
sailors in the 18th century and early hunters and adventurers describe the Zulus
with whom they came in contact as cheerful, prosperous and law-abiding people.
...........
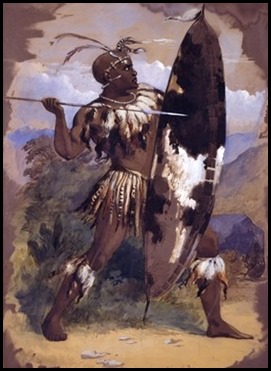 Drawing of a Zulu
warrior (British Museum)
The continuing strengthening of the
independent Zulu nation by King Cetshwayo was perceived as a growing threat to
the colonists of Natal, and in December 1878 the British Colonial government
issued an ultimatum that was impossible for the Zulu Nation to accept as it
required them to disband their army and swear allegiance to Queen
Victoria.
The terms which were included in the ultimatum delivered to the representatives of King Cetshwayo on the banks of the Thukela river at the Ultimatum Tree on the 11th of December 1878. No time was specified for compliance with item 4, twenty days were allowed for compliance with items 1–3, that is, until the 31st of December inclusive; ten days more were allowed for compliance with the remaining demands, items 4–13. The earlier time limits were subsequently altered so that all expired on the 10th of January 1879. 1. Surrender of Sihayo’s three sons and brother to be tried by the Natal courts. 2. Payment of a fine of five hundred head of cattle for the outrages committed by the above and for Cetshwayo’s delay in complying with the request of the Natal Government for the surrender of the offenders. 3. Payment of a hundred head of cattle for the offence committed against Messrs. Smith and Deighton. 4. Surrender of the Swazi chief Umbilini and others to be named hereafter, to be tried by the Transvaal courts. 5. Observance of the coronation promises. 6. That the Zulu army be disbanded and the men allowed to go home. 7. That the Zulu military system be discontinued and other military regulations adopted, to be decided upon after consultation with the Great Council and British Representatives. 8. That every man, when he comes to man’s estate, shall be free to marry. 9. All missionaries and their converts, who until 1877 lived in Zululand, shall be allowed to return and reoccupy their stations. 10. All such missionaries shall be allowed to teach and any Zulu, if he chooses, shall be free to listen to their teaching. 11. A British Agent shall be allowed to reside in Zululand, who will see that the above provisions are carried out. 12. All disputes in which a missionary or European is concerned, shall be heard by the king in public and in presence of the Resident. 13. No sentence of expulsion from Zululand shall be carried out until it has been approved by the Resident. To ensure that there was no interference from London, Frere delayed informing the Colonial Office about his ultimatum until it was too late for it to be countermanded. The full text of his demands did not reach London until the 2nd January 1879. By then, Chelmsford had assembled an army of 18,000 men- redcoats, colonial volunteers and Natal African auxiliaries- along the Zululand border ready for the invasion. 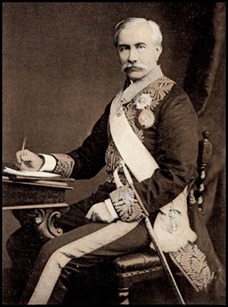 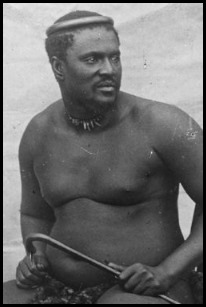 Eleven
days before the historic Isandhlwana
battle, during which the British army was to suffer its biggest defeat ever at
the hands of a native military foe, British High Commissioner in South Africa at
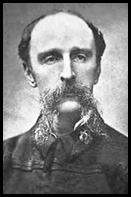
the time, Sir Bartle Frere,
had launched an invasion of Zululand
after the expiry of his impossible ultimatum to the Zulu King Cetshwayo
had expired. Frere was trying to establish a confederation of white-led states
in southern Africa, but the Zulus stood firmly in the path of his
ambitions.
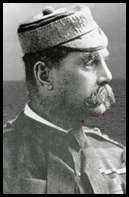
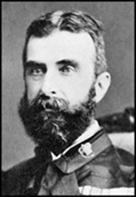 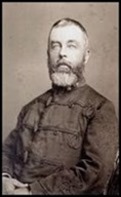 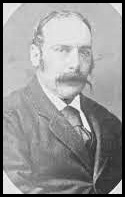 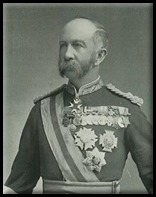 Under the command of Major General Lord Frederic Augustus Thesigel Chelmsford, three columns were sent to converge on the Zulu Royal ikhanda – or military camp – at Ulundi. The coastal column was commanded by Colonel Charles Pearson, the central column by Colonel Richard Glyn, and the third – highly mobile – column by Colonel Evelyn Wood.
In addition, Brevet Colonel Anthony Durnford and Colonel Hugh Rowlands each commanded an additional reserve force. General Chelmsford accompanied the central column, thereby effectively over-riding the command of Colonel Glyn. This column crossed the Mzinyathi (Buffalo) River at Rorke's Drift on Sunday the 11th of January 1879. Their first action took place the following day when they attacked the settlement of Chief Sihayo, after which they advanced to the site below the sphinx-shaped hill known as Isandhlwana, where they established a camp. As they considered it a temporary camp, unlikely to suffer an attack, they undertook no entrenchments. The column totalled some 4,907 men and included 302 wagons and carts, 1,507 oxen and 116 horses and mules. At dawn on the 21st of January Major John
Dartnell led a party of about 150 men on a reconnaissance mission, some sixteen
kilometres to the south-east in the area of the Hlazakazi Hill. Commandant
Rupert Lonsdale simultaneously led 1,600 men of the Natal Native Contingent in
the direction of the Malakatha Mountain. During these movements some Zulus were
observed on the Magogo Heights. After several skirmishes, Dartnell sent two men
back to Isandhlwana to report to Chelmsford, and inform him that his party would
spend the night on the slopes of Hlakazi. The following morning Chelmsford and
Colonel Glyn rode out in the direction of Hlakazi and met up with Dartnell,
leaving the camp under the command of Lt. Colonel Henry Pulleine, who at this
point had a total of 1,768 men in the camp, it having also been reinforced by
Durnford’s reserves. 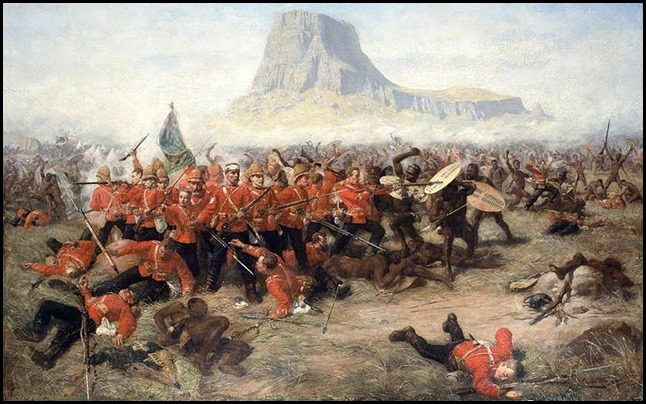 Charles Edwin Fripp’s painting (National Army Museum) of the
Isandhlwana Battle.
Meanwhile, on the 17th of January,
the 28,000-strong Zulu army, under command of Cetshwayo's Prime Minister
Mnyamana Buthelezi, had left kwaNodwengo – near present-day Ulundi – and
proceeded across the White Umfolozi River. On the 18th 4,000 warriors under
Godide kaNdlela set off from the main body to attack Pearson at Nyazane, near
Eshowe. The remaining 24,000 Zulus camped at the isiPhezi ikhanda, their trail
behind them leaving the grass flat for five months! On the 19th they split into
two parallel columns and camped near Babanango mountain. On the 20th they moved
a further 18km and camped near Siphezi mountain, and on the 21st they moved in
small groups into the Ngwebeni valley where they remained hidden until their
discovery by Raw and his men on the 22nd. 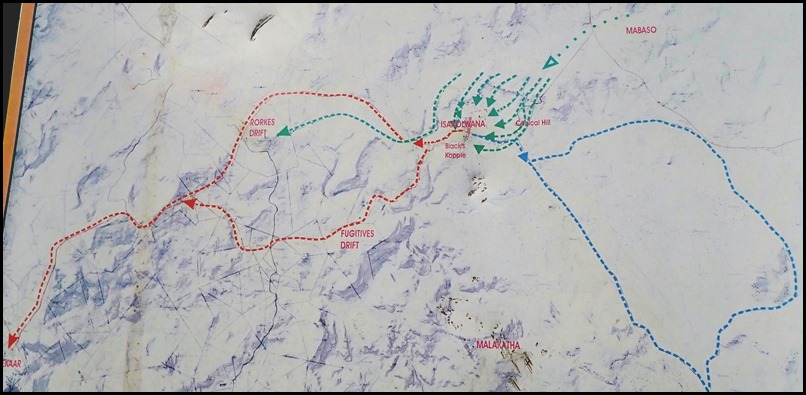 Map showing
Chelmsford’s movements in blue. Zulu movements in green and the British retreat
in red.
The main Zulu attack began at 12:30 with
20,000 men, 4,000 being held in reserve. At first the British line, comprised
mainly of the 1st and 24th regiments, held firm with the two guns keeping a
steady fire. However, as many as a third of the Zulus were armed with some type
of firearm, which eventually began to take its toll and the warriors advanced to
within 800 metres of the somewhat extended British line, due to a shortage of
men who had also begun to run short of ammunition. A simultaneous partial
eclipse of the sun during the fighting added an eerie quality to the
battle.
Realising that the initial attack had failed, the Zulu commanders sent Ndlaka and an induna (headman) forward to encourage the warriors. At this point Durnford’s position on the right collapsed and his men fell back towards the saddle, through which the warriors surged across the British line. As their line fell back from the Zulu advance, the right horn of the Zulu force had made its way behind the hill to cut off any British retreat back towards Rorke’s Drift. By about 15:00 the British position had been overrun, and those who tried to escape the slaughter attempted to flee via the saddle between Isandhlwana and Black’s koppie. Most of these fugitives were stopped by the Zulu’s right horn, and only a few on horseback got away. Lieutenants Melvill and Coghill bravely attempted to save the battalion’s Queen’s Colour but were killed in the attempt, the colours being washed downstream and recovered on the 4th of February. Chelmsford, who had been operating in the hills to the south-east, was informed of the disaster at 15:00 and the remnants of the central column cautiously returned to Isandhlwana as evening fell. The reality of the situation together with the reports of the ongoing battle raging at Rorke’s Drift made him resume his march before dawn, reaching the Mzinyathi River shortly after the Zulus had returned to Zululand. Both sides lost heavily in the battle of Isandhlwana. Estimates of British losses were 1,357, and approximately 3,000 Zulu warriors were also killed. At this news, King Cetshwayo said “alas, a spear has been thrust into the belly of the nation”. Of the battle BBC History says: Word of the disaster reached Britain on 11 February 1879. The Victorian public was dumbstruck by the news that 'spear-wielding savages' had defeated the well-equipped British Army. The hunt was on for a scapegoat, and Chelmsford was the obvious candidate. But he had powerful supporters. On 12 March 1879 Disraeli told Queen Victoria that his 'whole Cabinet had wanted to yield to the clamours of the Press, & Clubs, for the recall of Ld. Chelmsford'. He had, however, 'after great difficulty carried the day'. Disraeli was protecting Chelmsford not because he believed him to be blameless for Isandlwana, but because he was under intense pressure to do so from the Queen. Meanwhile Lord Chelmsford was urgently burying all the evidence that could be used against him. He propagated the myth that a shortage of ammunition led to defeat at Isandlwana. He ensured that potential witnesses to his errors were unable to speak out. Even more significantly, he tried to push blame for the defeat onto Colonel Durnford, now dead, claiming that Durnford had disobeyed orders to defend the camp. The truth is that no orders were ever given to Durnford to take command. Chelmsford's behaviour, in retrospect, is unforgivable. Many generals blunder in war, but few go to such lengths to avoid responsibility.
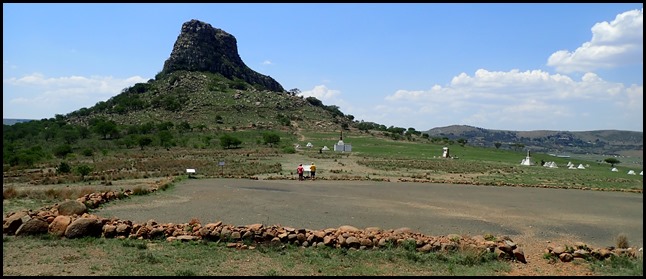
We bimbled toward Isandhlwana Hill and the white isiVivaneni.
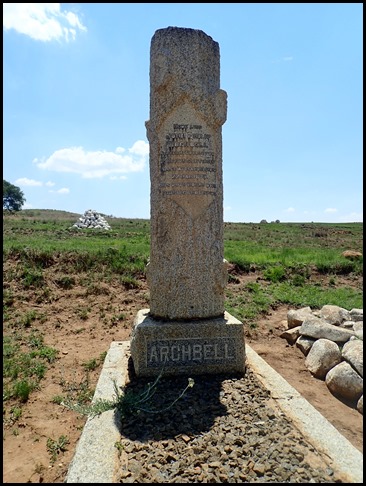
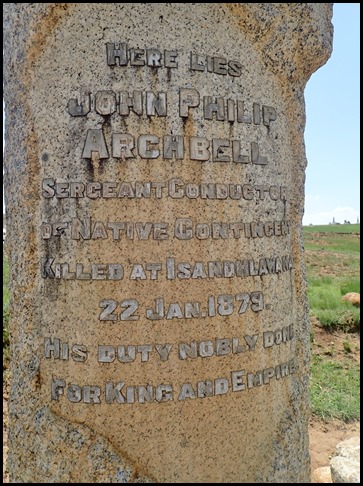
John Philip Archbell.
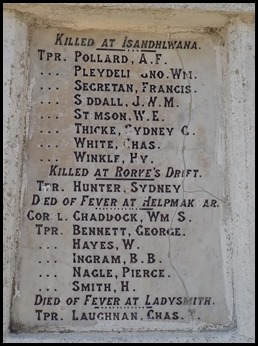
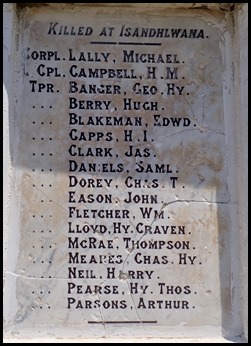
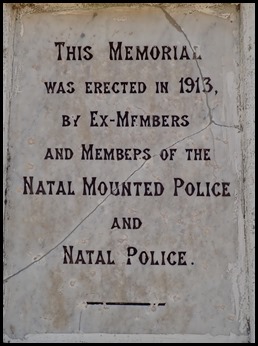
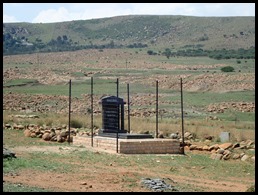
The next memorial we came to and its four panels.
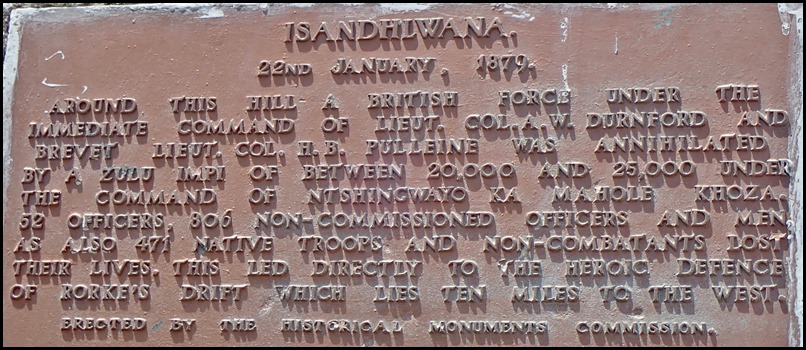
A plaque.
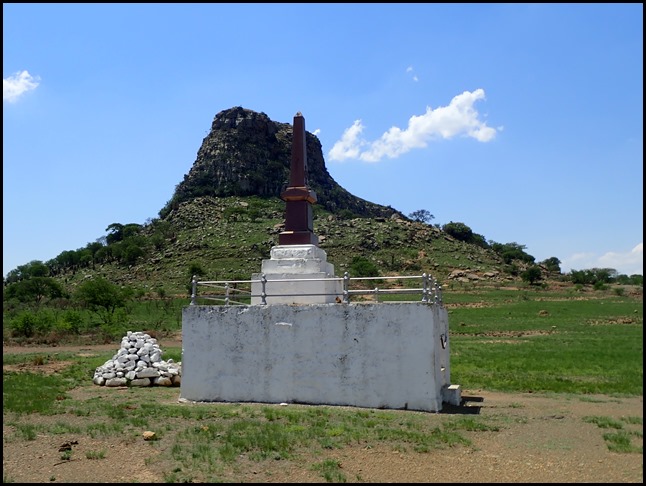
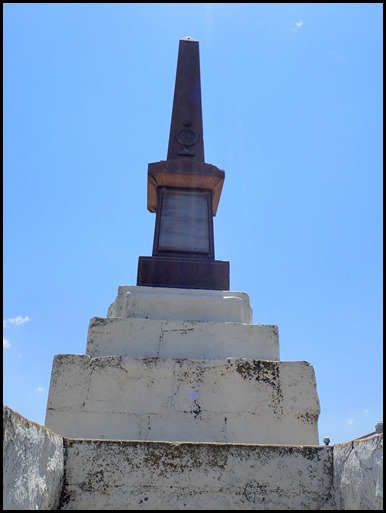
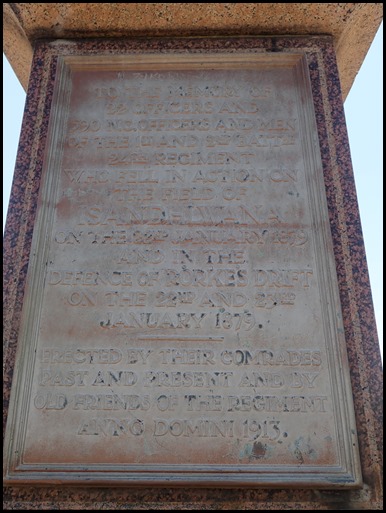
A very tall monument atop a plinth with very steep steps and a heavy chain across read: To the memory of 22 Officers and 590 N.C. Officers and men of the 1st and 2nd Battalion 24th Regiment who fell in action on the field of Isandhlwana on the 22nd of January 1879 and in the defence of Rorke’s Drift on the 22nd and 23rd of January 1879. Erected by their comrades past and present and by old friends of the regiment Anno Domini 1913.
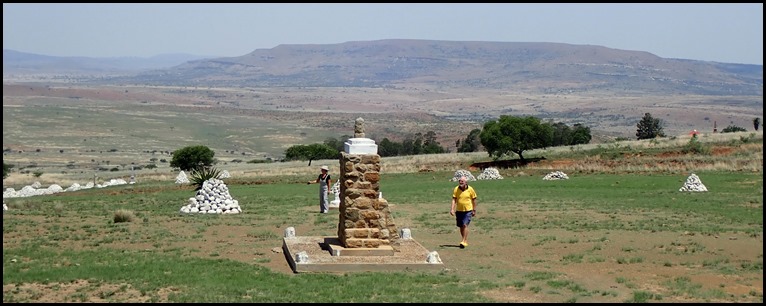
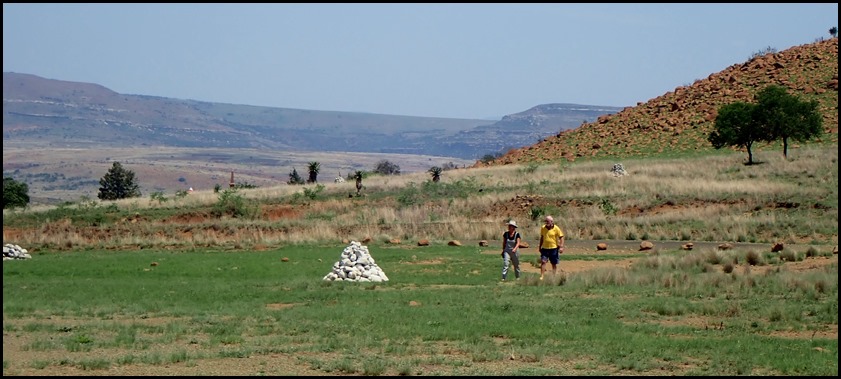
Kimi and Bear taking it all in.
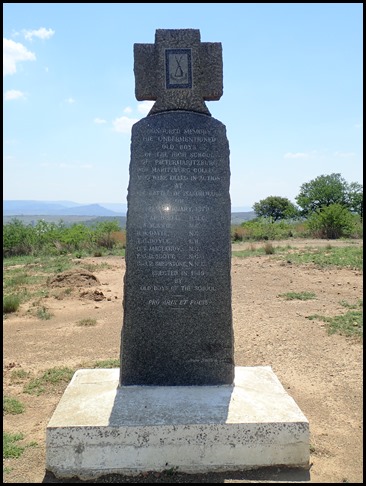
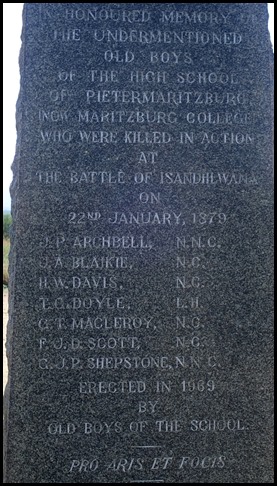
A memorial to the Old Boys of Pietermartzburg High School.
We made it to the car park and information boards.
Graves around the very edge of the site.
We bimbled back toward the car leaving the site.
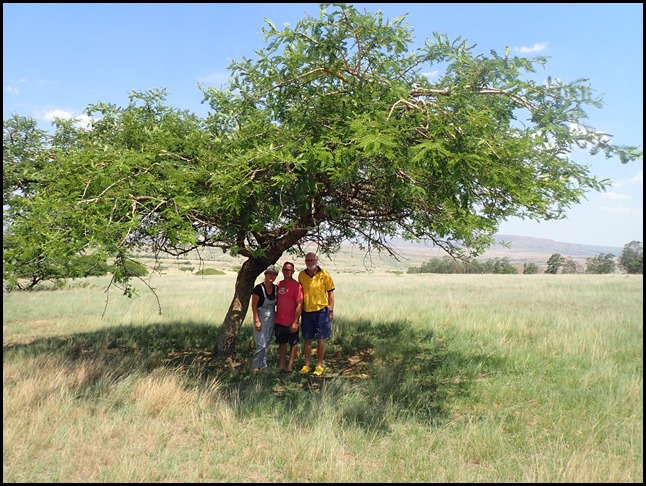
Going back across the field we stopped by a local tree, now known as a Pepe Tree.
We took in the peace about us and headed off to find Rorke’s Drift. ALL IN ALL SUCH A WASTE ONE OF THE MOST MOVING BATTLEFIELDS I HAVE VISITED
|
