Marina di Ragusa: Caulking the Teak Deck
36.46.84N 14.32.74E The main task over the last few weeks was to make a start on replacing the caulking on the teak decks (the black lines between the teak planks). The old caulking had deteriorated and was the cause of a few leaks. We started at the bow and managed 6 feet in 4 weeks – only another 33 feet to go! Although it was the “narrow” bit of the boat it was quite tricky manoeuvring ourselves for access. As it is the first time we have done this job, we learnt lots of techniques for speeding up the process and a few “must not do next time” items. The main “must not do next time” is letting Yoyo walk on the black sikaflex and then leaving little paws prints all down the rest of the deck. We have put together a little picture story of our work - looking back it seems so simple!
Step 1 – Yoyo takes up command position to oversee all the work
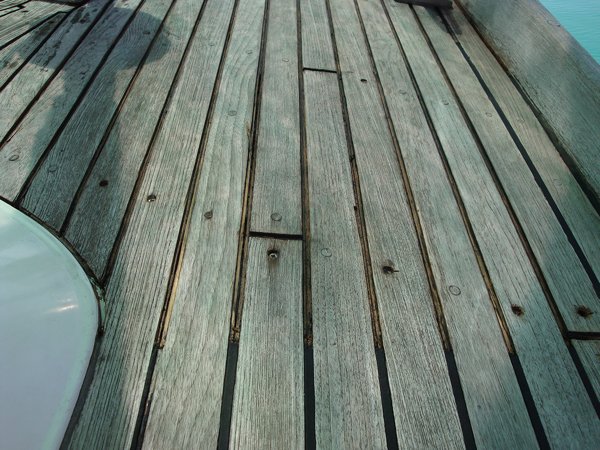
Step 2 – Remove all the caulking (the black lines) from the teak planks. Remove all wooden screw plugs and screws, re-countersink and replace with shorter screws (about 85 in this section)
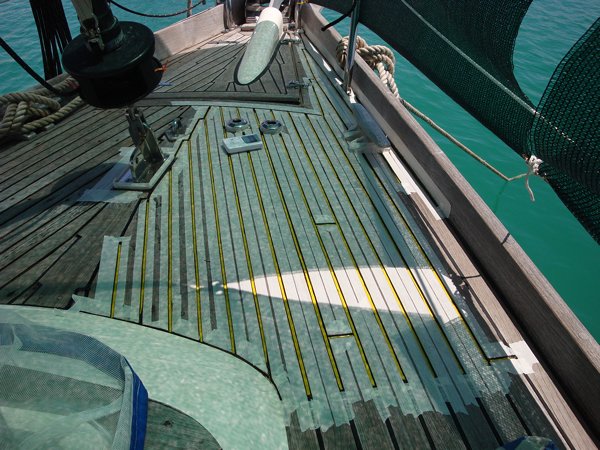
Step 3 – Mask off the edge of all planks and put in the bottom of the grooves the breaker tape (yellow)
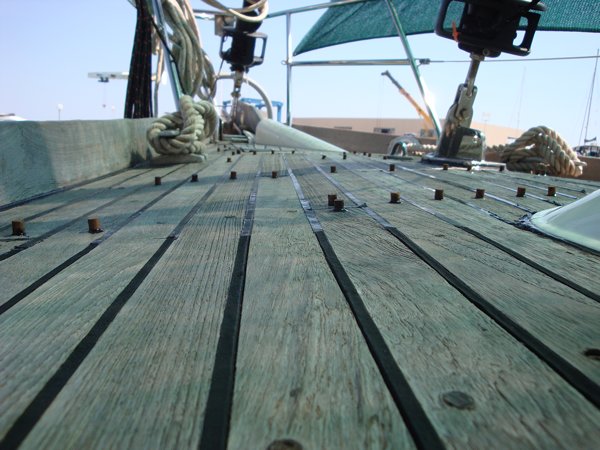
Step 4 – Reapply the caulk and then replace all the wooden plugs on the screws – game of skittles anyone?
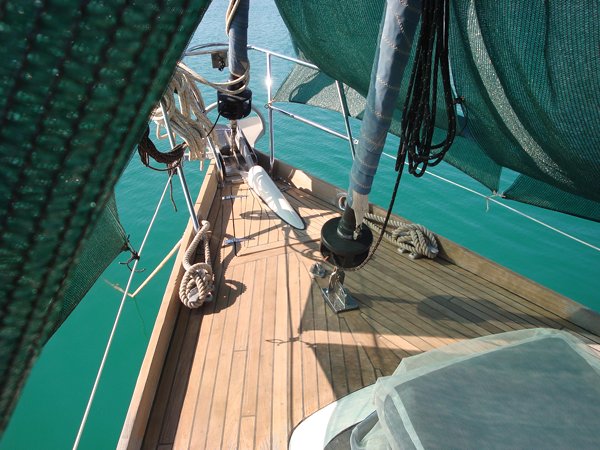
Step 5 – The fun bit – sand the deck down a bit until it looks all new and there are no leaks J In between this job we had all the normal bits of life to lead (tax returns, laundry, shopping etc). It didn’t help that the temperature is now getting too hot so it is now an early start / rest / late finish routine. We also have started to fix the outboard (it starts but does not run) and serviced the forward heads. We also noticed the water pump had become very loud, when we investigated we found it had fallen off it’s fitting. This meant we had to spend some time re-fitting it. |