A stitch in time
Scot Free III
Frank & Anne
Sun 20 Aug 2023 12:53
Annoyingly certain things still need to be fixed for sailing to a remote area.
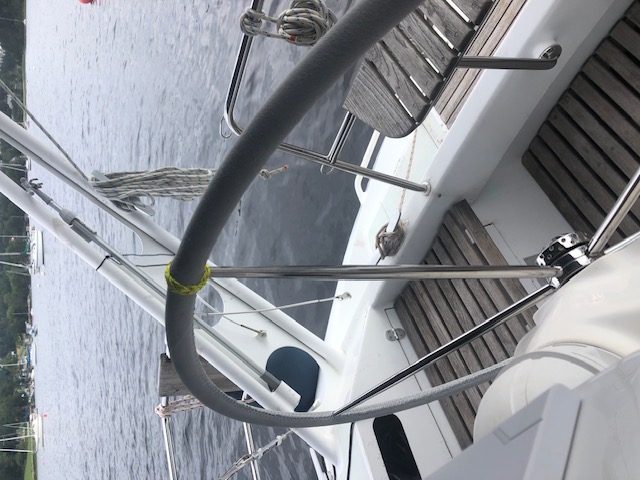
F went up the mast again, this time to bring down the wireless wind instrument which did “pair” with the plotter but no data was being transmitted. Convinced that it was just the battery, a replacement was brought out with us but that didn’t help. Conclusion is that it’s faulty. Will need to be returned and replaced, but not crucial to leaving.
After several dull days with no solar or wind charging the battery bank began to show its age (Ed. I know how it feels). The secondary bank of lithium ones have been brilliant at anchor but can’t be charged using the engine (just solar & wind) to prevent the alternator going into meltdown (literally). More importantly they can’t be switched in, in an emergency, to start the engine, should the start battery fails. This is all doable but requires major surgery on the charging system. So after much soul searching have decided to buy new batteries. To make the change now introduces just one risk too many at this stage. The parts we needed for a truly “belt and braces” installation, arrived after we left home and F reluctant to buy them again, here. We need to leave without further delays to avoid a hefty import tax bill.
A set to with stitching the new wheel cover, after much polishing and cleaning of the helm. Each pair of holes had to be stitched through twice - 600 stitches later, all done. The new leather was much easier to sew than repairing the hardened old cover.
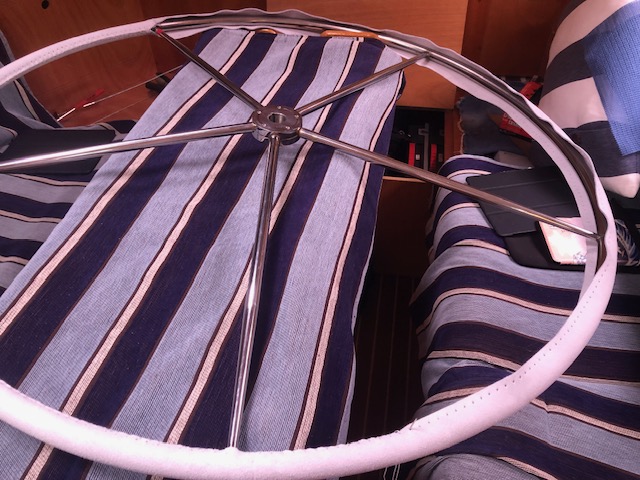
Day 1 had the wheel lying down, halfway through, A forced to go to bed for the rest of the day with vertigo, from having her head down too long.
Day 2 a different approach. Finished very quickly.

The most difficult part had been measuring, cutting accurately to length and joining (dire warning in the instructions to measure and fit at least three times before cutting “you can cut off 100mm but can’t add back 1mm) Joining required beating the joint flat with a hammer to avoid an unsightly VPL. Then using strips of double sided tape to fix it, ready for sewing. F did most of that precision work (Ed. I’m good with a mallet!)