12th April - The Tongariro Alpine Crossing - Part 1
Aurora_b
Mike and Liz Downing
Sat 23 Apr 2011 11:15
|
Yesterday while up in Whakapapa on the slopes of Mt
Ruapehu, we checked the weather forecast for today - was it still
going to be fine? If it was we had decided to stay an extra
night and have a go at the Tongariro Alpine Crossing, billed as the
best one-day hike in New Zealand. It was still looking good, so we used the
mobile to extend the motel and book transport - the Crossing begins
and ends at different points and you need to be dropped off at the start
and picked up from the finish. So this morning we got on the coach at
07.10 full of trepidation as to whether or not we were taking on too much.
The track is 19.4 kilometers long and winds its way up and between Mt Ngauruhoe
(Mt Doom) and Mt Tongariro (both active volcanoes), through some of the most
outstanding volcanic and mountain scenery in NZ, with stunning views in all
directions. It starts at 3,700ft above sea level and
then climbs up, quite steeply in places, to 6,130ft at it's highest
point, dropping down to 2,400ft at the finish.
We hadn't tackled a walk like this since walking in
Scotland - over 30 years ago! But the weather was brilliant, not
a cloud in the sky and a cool breeze was blowing to kept us from
getting too hot. So at 08.15, all kitted out with plenty of food and
water, coats, hats, gloves, and 3 cameras, we started walking. On the
steeper parts of the track we did get hot and were down to t-shirts, but even
with all the sun, the wind was cold at the top and we had fleeces and coats on,
as did everyone else. Being such good weather there were a lot of other people
doing it - mostly fit young things! We kept up a good pace along the easier
sections to give more time to plod up the steeper climbs and didn't stop
for lunch until on our way down - once again we didn't want to miss the last
bus! The tactic worked and we got to the finish at 16.00, with half an
hour to spare. All but the last hour or so is above the tree line and the
scenery and views really are breathtaking. Mt Taranaki (Mt Egmont) could
easily be seen approx 120 km away in the west. The
best one-day trek in NZ and we didn't have a cloud in the sky the
whole day - just bright blue skies and sunshine. It's well into autumn here now,
so we were very lucky. We had a few aches the next day, but nothing
too bad and it was definitely worth it!
 The route, the solid line at the top. Top
insert is the route profile
It starts from the car park at Mangatepopo,
goes up the Mangatepopo Valley, across the South Crater to the saddle between Mt Ngauruhoe (Mt
Doom) and Mt Tongariro, up
to the Red Crater, down passed the Emerald Lakes
and the Blue Lake, and on down to the
Ketetahi Road. This was taken at the finish, so
the 'YOU ARE HERE' was where we finished. You can
do the crossing in either direction, but most people start at the Mangatepopo
end as although the climbs are a little steeper in places, you are
going down hill more as in this direction the finish is 1,300ft lower than
the start.
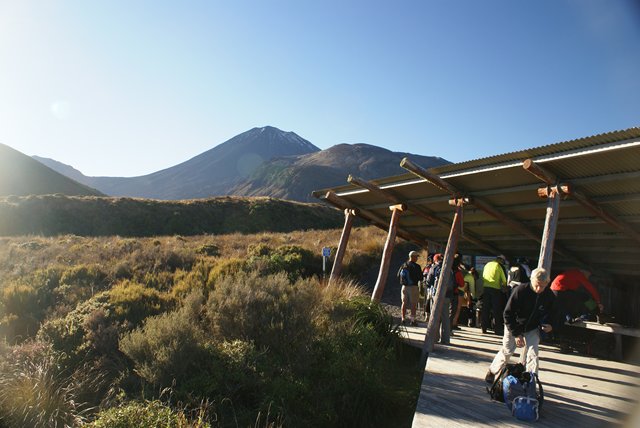 The shelter at the start and where we have
to go - over the distant saddle between the
mountains.
 Again at the start, but looking to the
south and Mt Ruapehu.
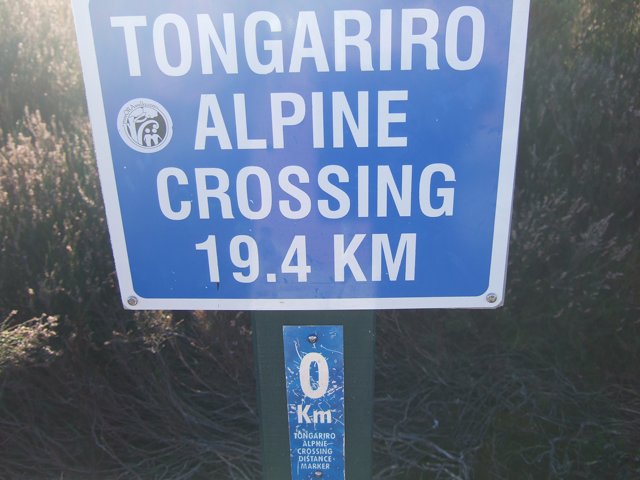 The start and we're
off!
 An early view looking to the west. Although
a bit hazy on the photo, we could see
Mt Taranaki (Mt Egmont) 75 miles
away.
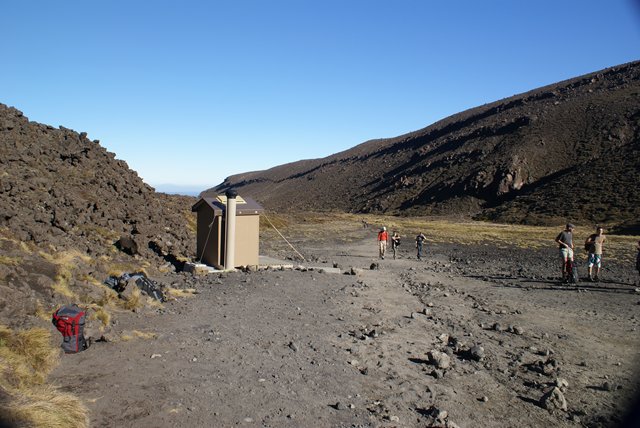 The last toilet for about 5 hours! As
the leaflet says, use the facilities as the terrain ahead
is open
with little
cover!
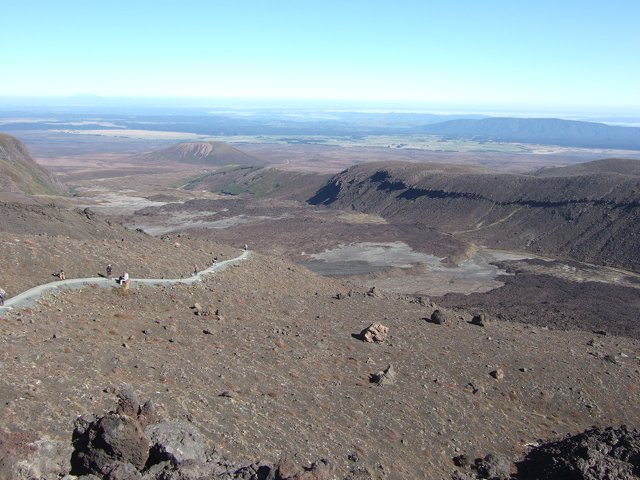 Looking back down the track we've come
along. The tracks are well defined in most places except
the climbs and rocky ridges where you follow
poles.
 One of the narrower paths climbing
up towards South Crater. The final section of the
climb
up to the
South Crater is steep,
rising up 1100ft and is referred to as the Devil's Staircase, but
......
 ....... the views when you get up
there are tremendous! That's Mt
Taranaki (Mt Egmont) again,
75 miles
away.
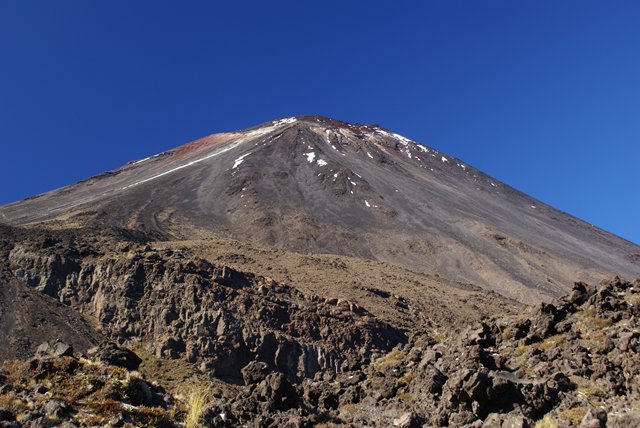 Mt Doom against the blue sky. The
summit looks so close. If you start early and are very fit, it's
an extra 2-3 hours
to go up and down from this
point.
 A little further along and it's time to rest
a bit.
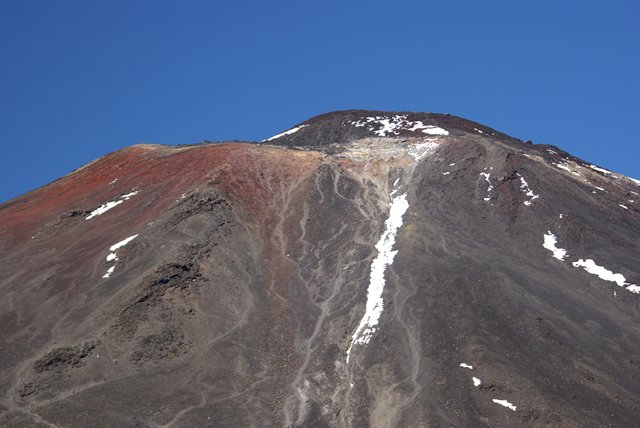 A close up of the summit of Mt Doom. Unlike
Sam, I offered to carry Liz's ring up the steeper
climbs -
I couldn't contemplate the
alternative he chose! (Look at the 3rd film or read the last book.)
 Volcanic Hazards!
We thought it a bit odd that at this point, having come
quite a long way and climbed the Devil's Staircase, that there should be the first warning of Volcanic Hazards. It's a
bit late by the time you get this far! You can read
some of what it says. To the right it tells you what to do if the mountains
start to erupt. Basically there are 2 strategies - firstly get off the mountain
as fast as you can and secondly get out of the valleys and head for the ridges
which are supposed to be a much safer place to be. We were pleased we didn't
have to put the advice into practice!
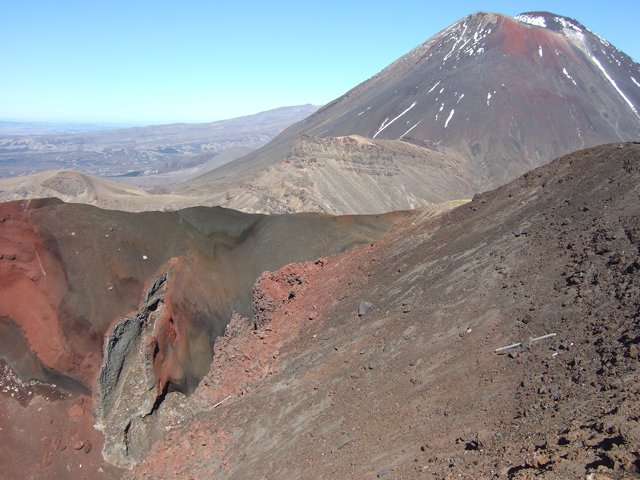
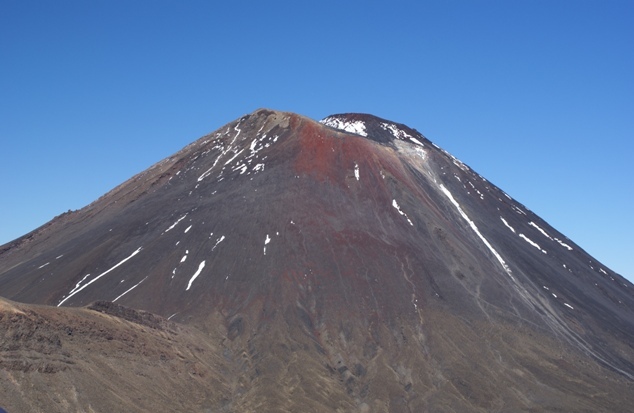 Mt Doom again. It just looked stunning with
the red colours around the summit and we have
many many photos of
it!
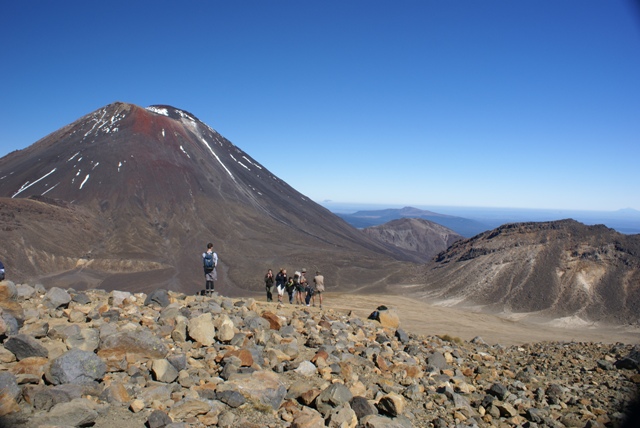
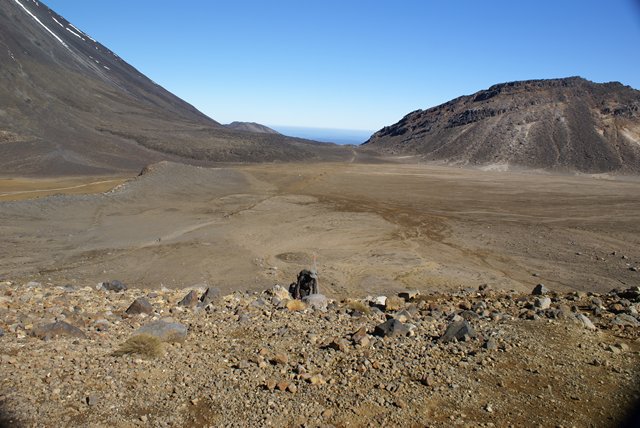 Looking back at the walk we've just
done across the lunar landscape of the South Crater,
with
Mt Doom on the left and Mt Tongariro
on the right. The track
across it can just be seen, with
a few little ants (people) coming
across.
One of the beauties of the crater is that it's perfectly
flat! Having come up the Devil's Staircase it's a very
pleasant change. That is until this very last
section, where these walkers in the foreground are. It's another steep climb,
but relatively short, up the rim towards the Red Crater.
 Another group emerges from the climb
up the crater's rim to the Red Crater. It's an exhausting
climb
as it's steep, but
..........
 ........ the views greeting those who
make it over the top are stupendous (one better than
tremendous!).
Now we know why it's called the Red Crater.
It's a stunning sight and you could hear every new
person
coming up onto
the rim exclaim
WOW!!
Another comment from the leaflet: '... the track is
steep and has big drops on either side. This section can be scary when the winds
are strong as you may get pushed around and even find you may need to be on your
hands and knees. Please do not walk too close to the edge of the crater because
if you fall in you will not come out.'
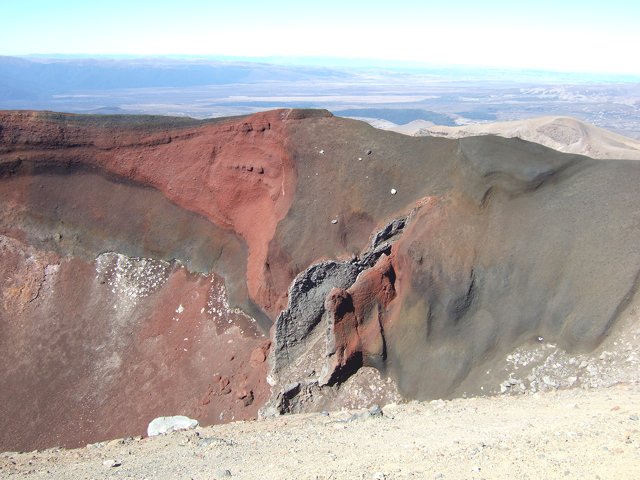 The views over the top of and around it
aren't bad either.
  Seems too red to be natural, but its caused
by high temperature oxidation of iron in the rock.
There
is also a smell of sulphur, evidence that
the crater is still active.
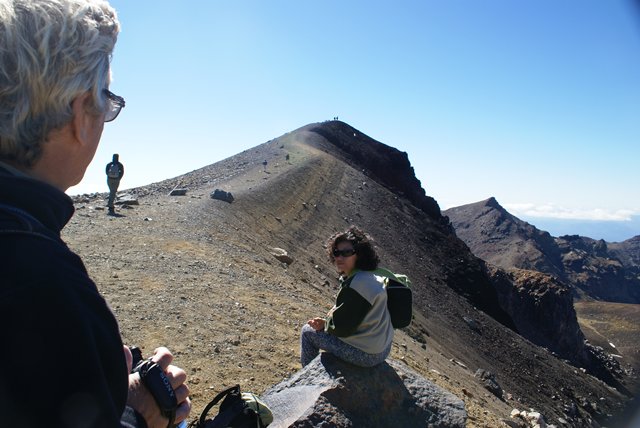 Standing on the rim of the Red Crater
looking up in the direction we have to go. We're not at the
highest point yet. We have to follow more
ants already on the pathway up. But that is finally
the
highest
point, where the
2 figures on the top are standing.
Completing the ascent and continuing on down the
other side - more photos in Part 2
|