Fwd: Tech blog to enable Thursday's Child to sail to Scotland
|
050:36.47N Tech
Blog 1 Tasks
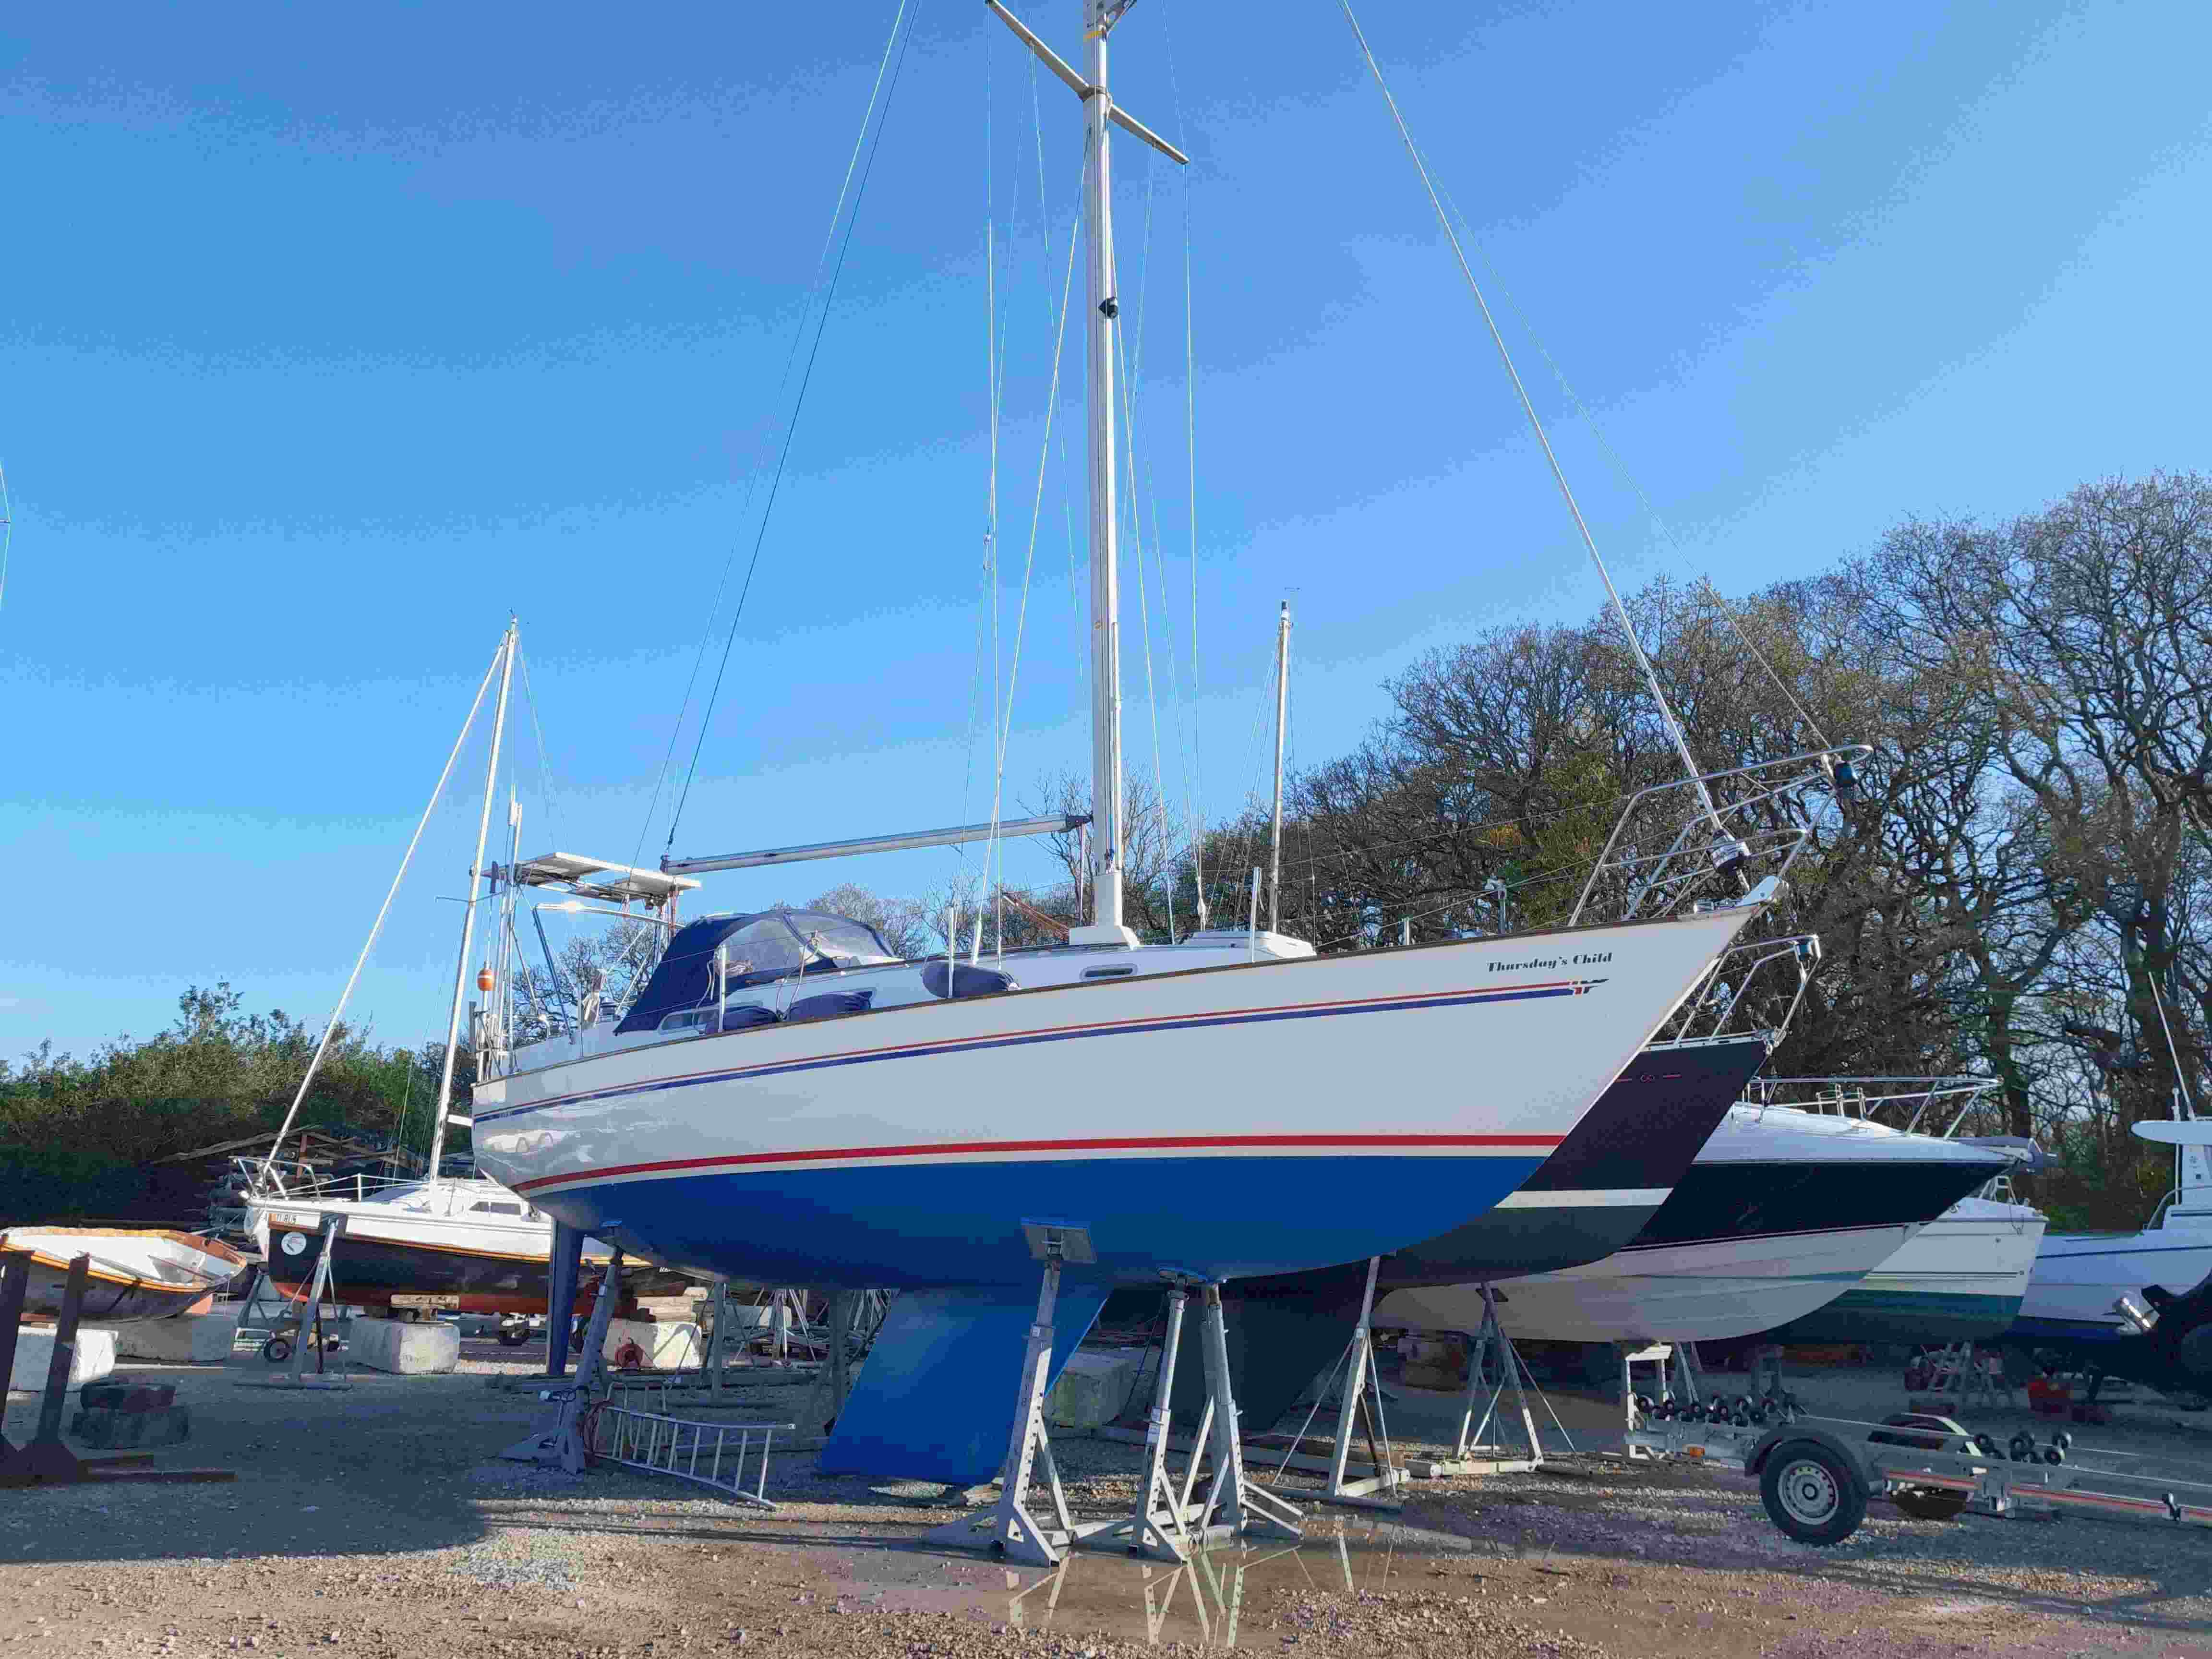
completed to get Thursday's Child ready for a trip to
Scotland Illustration
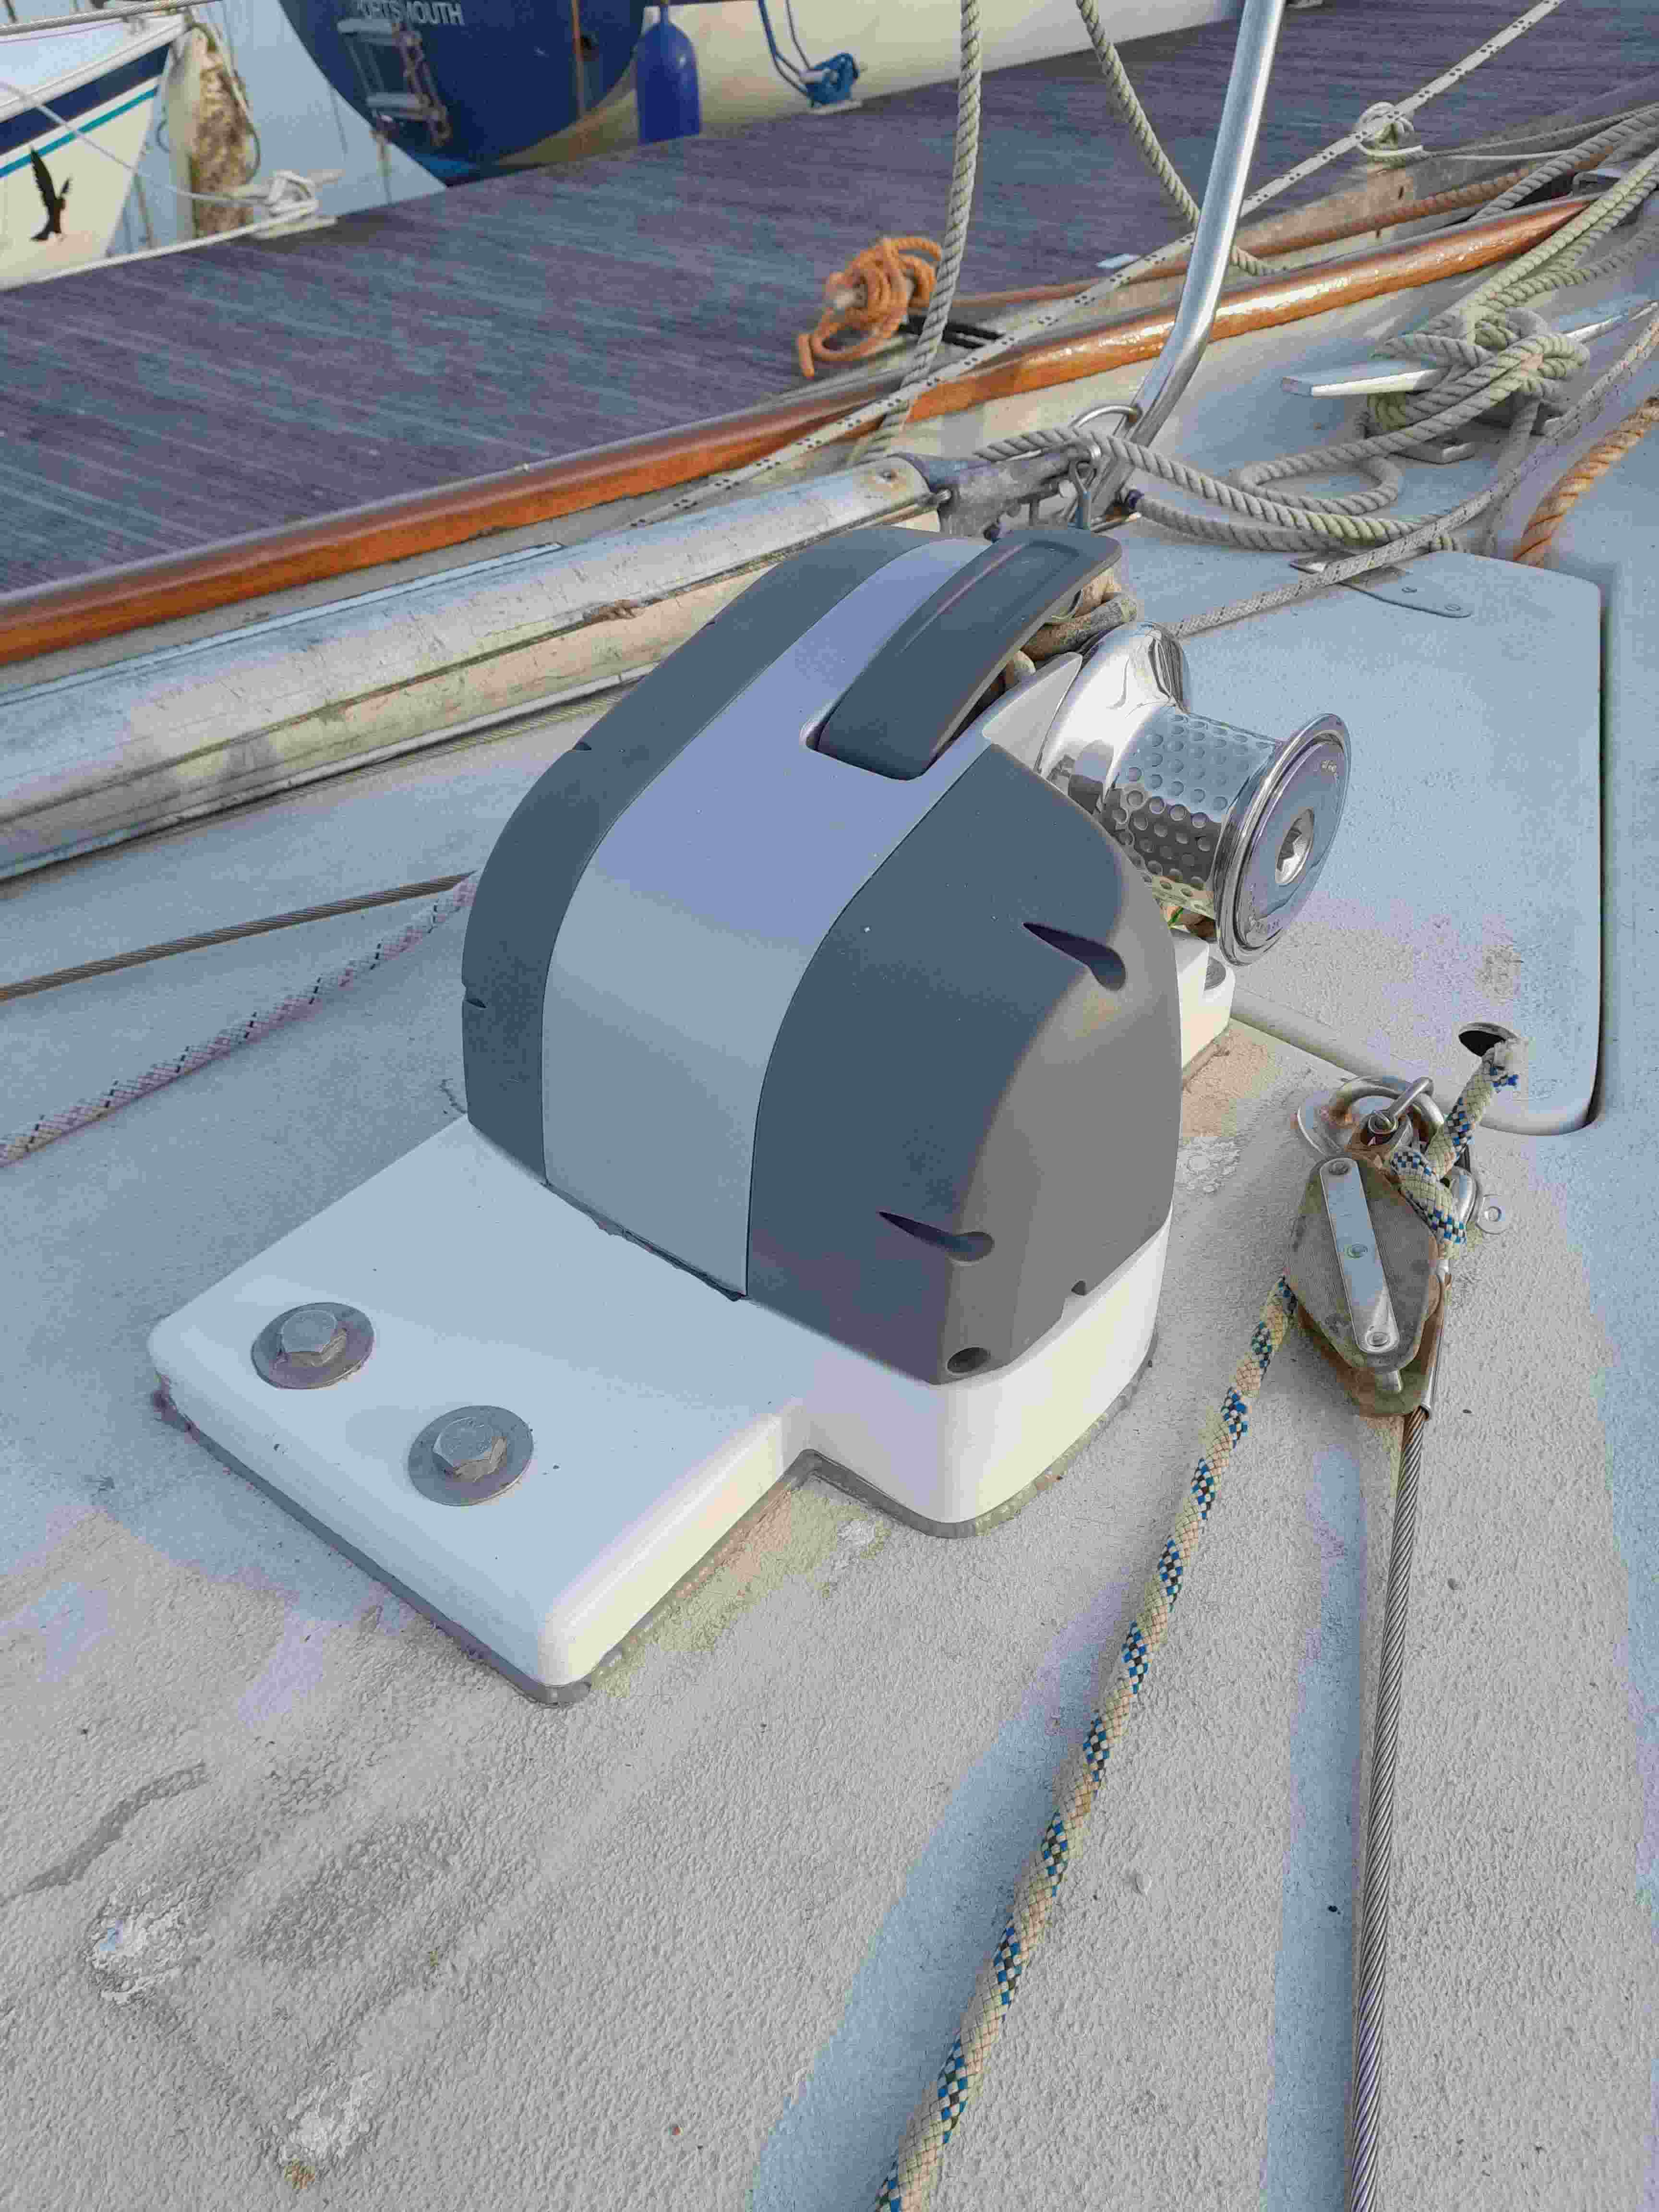
2: Fit a new powered windlass Fitting a
powered windlass was one of the most significant tasks
carried out before we headed off on our trip to Scotland.
It entailed choosing a windlass and finding a way to
install it that did not compromise the foredeck and anchor
locker. I have been looking at many other Sadlers and
other makes of boat to find a good compromise design. One
problem that a Sadler 34 presents is that the anchor
locker is small, relatively shallow and accessed only from
the deck. When my family bought the boat we had no
windlass, so I fitted a manual system before our trip to
the Med in 2014/15. This worked OK, but was slow and the
chain had to be flaked by hand. I liked
the idea of an electric windlass to pull up the chain, and
also wanted it to have a rope drum to enable crew to be
hauled up the mast etc. I wanted
to find a system that would mean the anchor locker could
be used to store the anchor whilst sailing at sea. Fitting
the windlass has meant constructing a plinth to raise the
windlass which enabled me to make a ramp to lead the chain
down and forward to run down into the rear of the anchor
locker. This also aligned the cable outlet to come down
into the forepeak behind the bulkhead. The only downside
to this positioning is that the chain does bunch up on the
bulkhead during retrieval, so I have fitted stainless
steel and PTFE sheet to make it slippery. This has helped,
but not completely cured the problem. The power
cables used are 35mm2 cables, that are led from
the lithium house batteries up to a switch and circuit
breaker located in the aft cabin, these are then led
forward along the port side of the hull housed in the
inner deck moulding recess. The cable is terminated in a
junction box mounted above the forward bunks on the rear
of the anchor locker bulkhead. This box also houses the
solenoid and remote control switching gear. A 3-core cable
comes back to a rocker switch mounted in the cabin on the
rear of the heads bulkhead below the hatch. This means it
can be used from the deck if the remotes fail for any
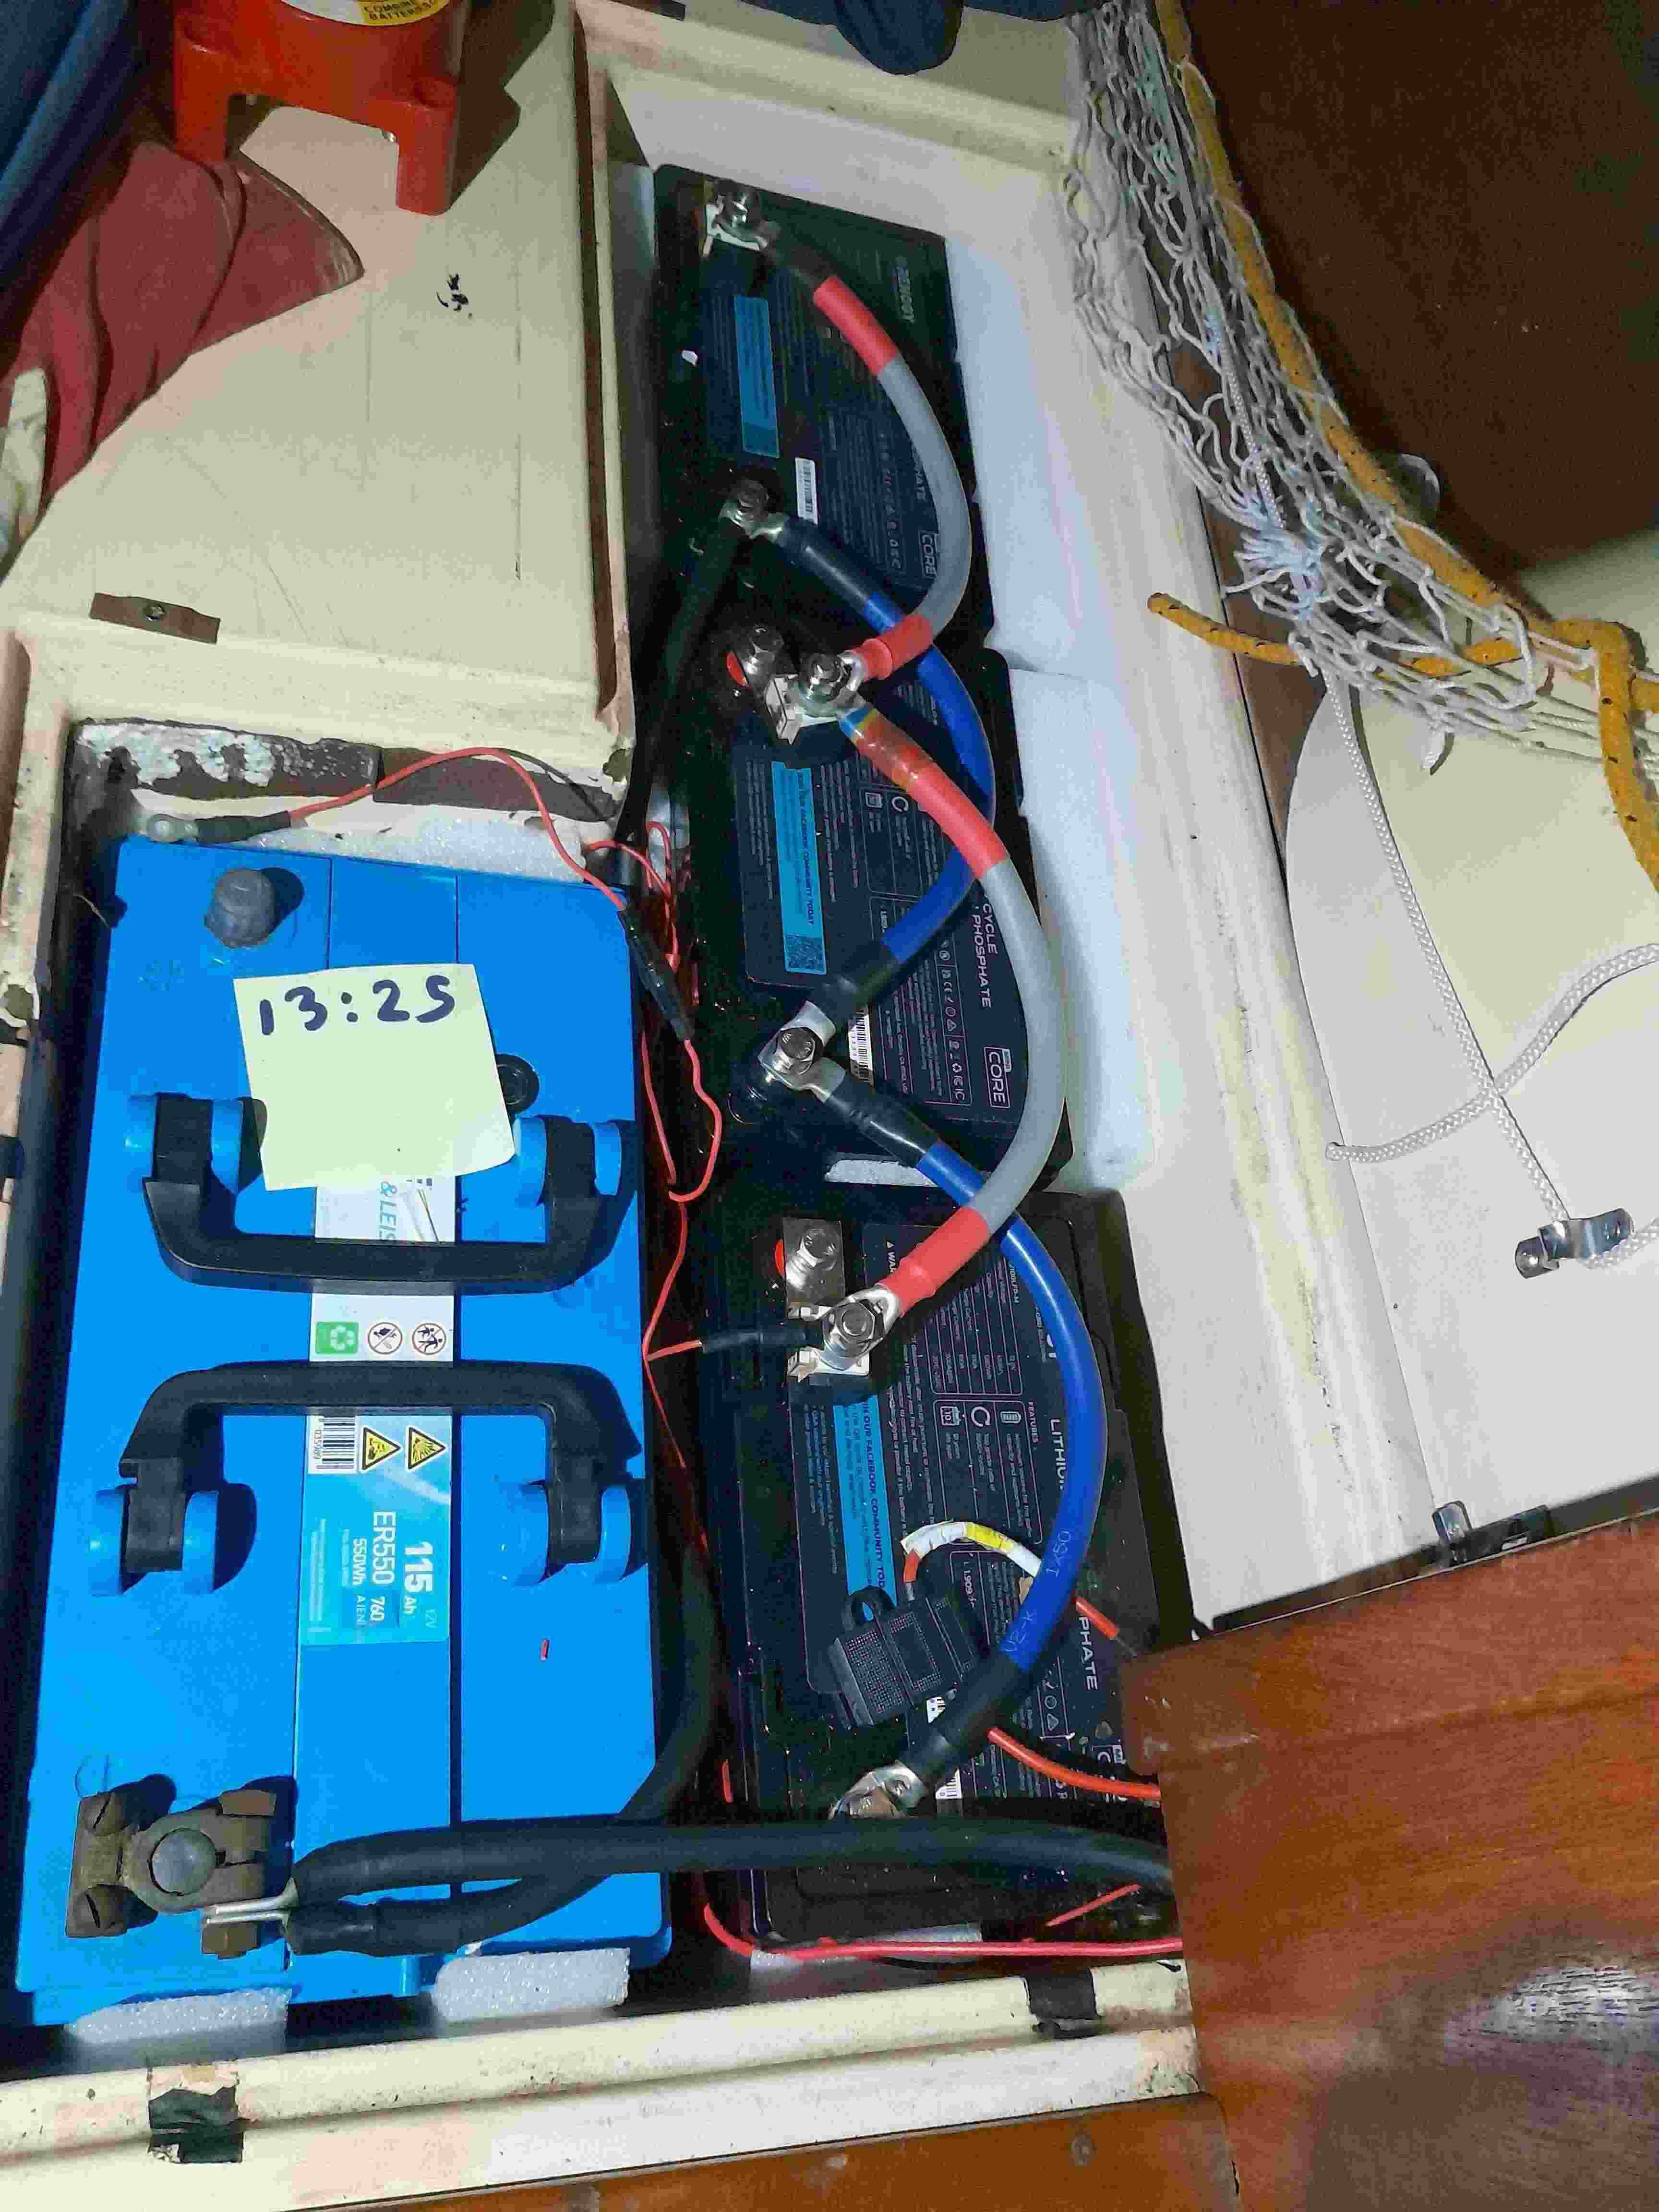
reason. Fit
Lithium house batteries To
increase the capacity of the house bank of batteries which
used to be 2 x 115AHr lead-acid batteries we now have 3 x
100AHr Renogy mini lithium batteries. As the old batteries
could safely be discharged to approx 50% and these
lithiums to over 85% we have approx 2.5 times the use
available. We have however maintained one 115AHr lead-acid
battery which is our starter battery, and now only used to
start the engine. Everything else runs off the lithium
batteries. With a claimed 5000 recharge cycles these
should last for 20 - 30 years with the use we give them. The
tricky part of fitting the new batteries is that they
require their own charging system so that they can be
charged at a higher voltage and to prevent them drawing
too much power from the alternator (which would cook it).
I fitted a new master switch which isolates the
engine/starter battery & system from the lithium house
batteries. I then fitted a Renogy DC-DC control and MPPT.
This also has a BT-2 bluetooth transmitter that links to
an app on my phone and details what the two sets of
batteries are doing and where any charging power is coming
from and which batteries are being charged. When a
charge is detected, the starter battery is charged until
it reaches capacity, then the charge is directed to the
house bank. If everything is full then the charge is
switched off automatically. Illustration
3: Master switch, Controller, Windlass switch and
breaker Illustration
4: Starter and Lithium Batteries Solar
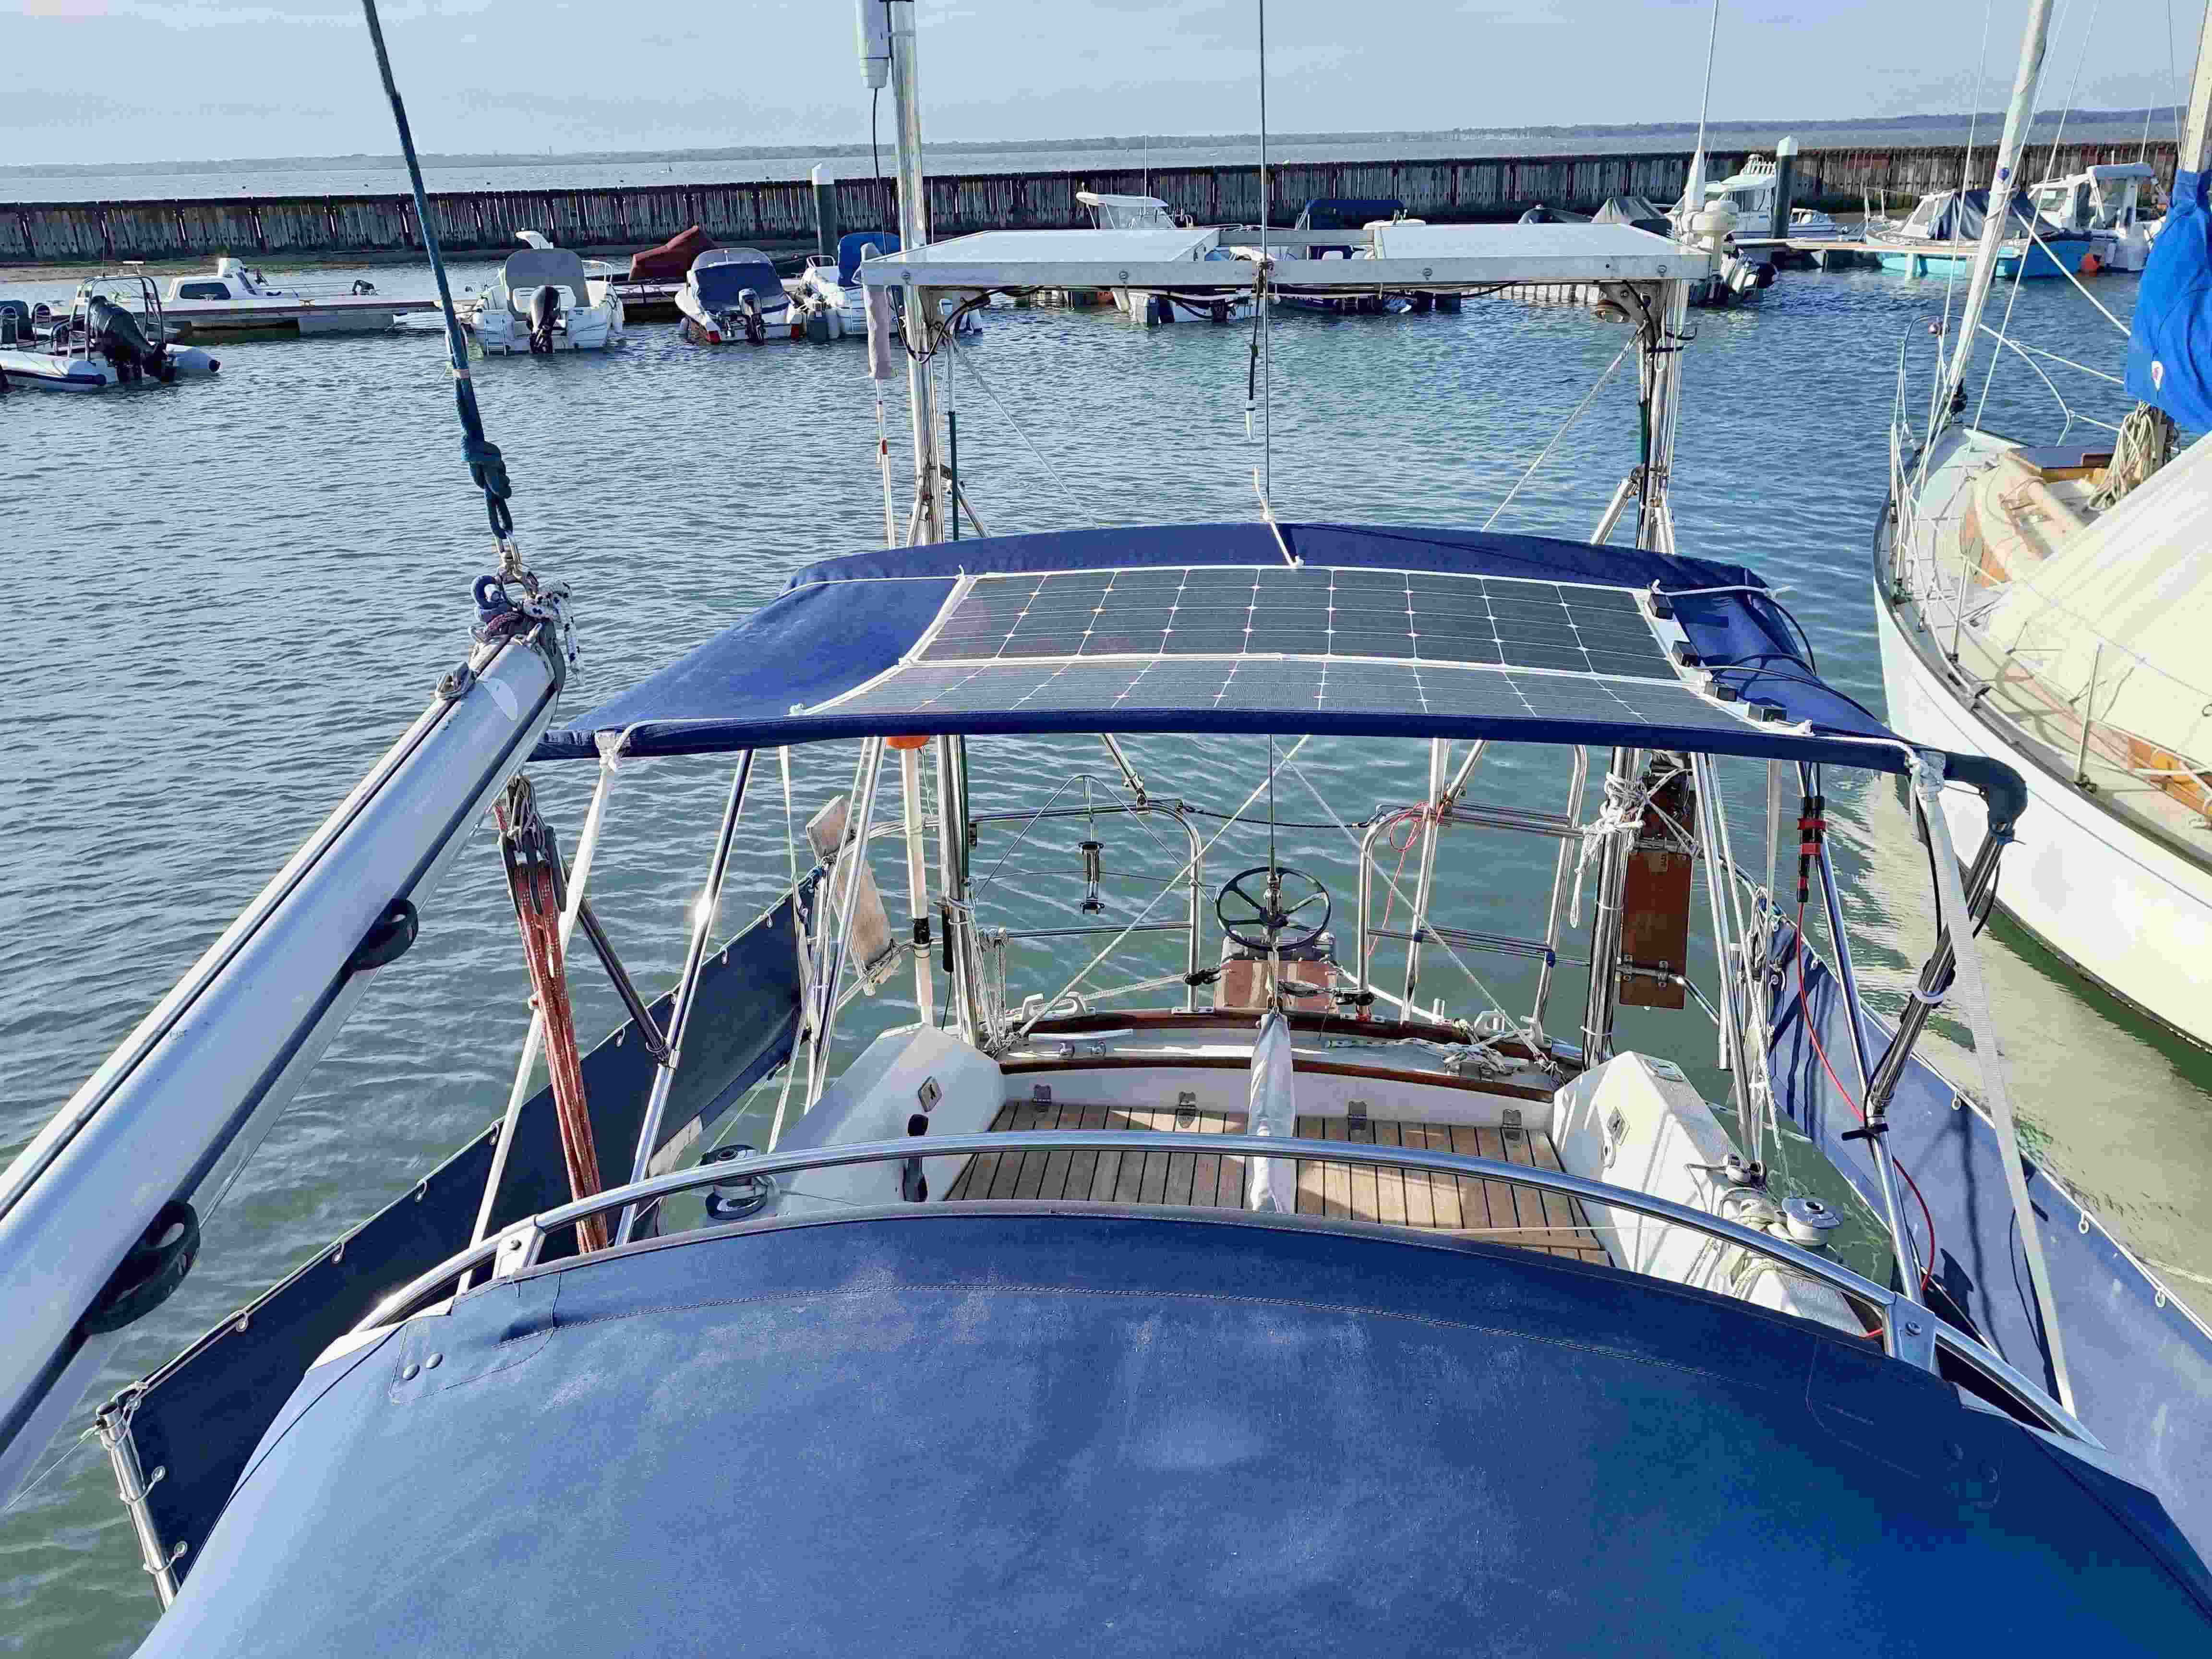
panels To keep
the house batteries recharged I have bought and installed
a pair of 100W semi flexible solar panels onto the bimini
to add to the 200W of fixed panels already on the gantry.
Cables supply power down to a locker in the cockpit where
the panels can be connected or removed if the panels are
stored below. The cables are then linked to the existing
fixed solar panels to total 400W of power in perfect
conditions.
New
navigation systems When we
have sailed in the past we used an ancient Netbook secured
on the chart table which had Open CPN running on it. This
time we have a slightly newer Netbook loaded with Open CPN
using the charts detailed below and linked to the Vesper
AIS to give a visual location of AIS targets and GPS. The
beauty of the netbooks is the relatively low current draw.
New
chartplotter I have
been lucky enough to acquire two second-hand chart
plotters and have mounted one at the chart table and the
other over the companionway so that it is visible from the
helm. I plan to fit a wireless transmitter to the plotter
on the chart table so that it links to the tablet we have
and puts the AIS plots onto Navionics. I have
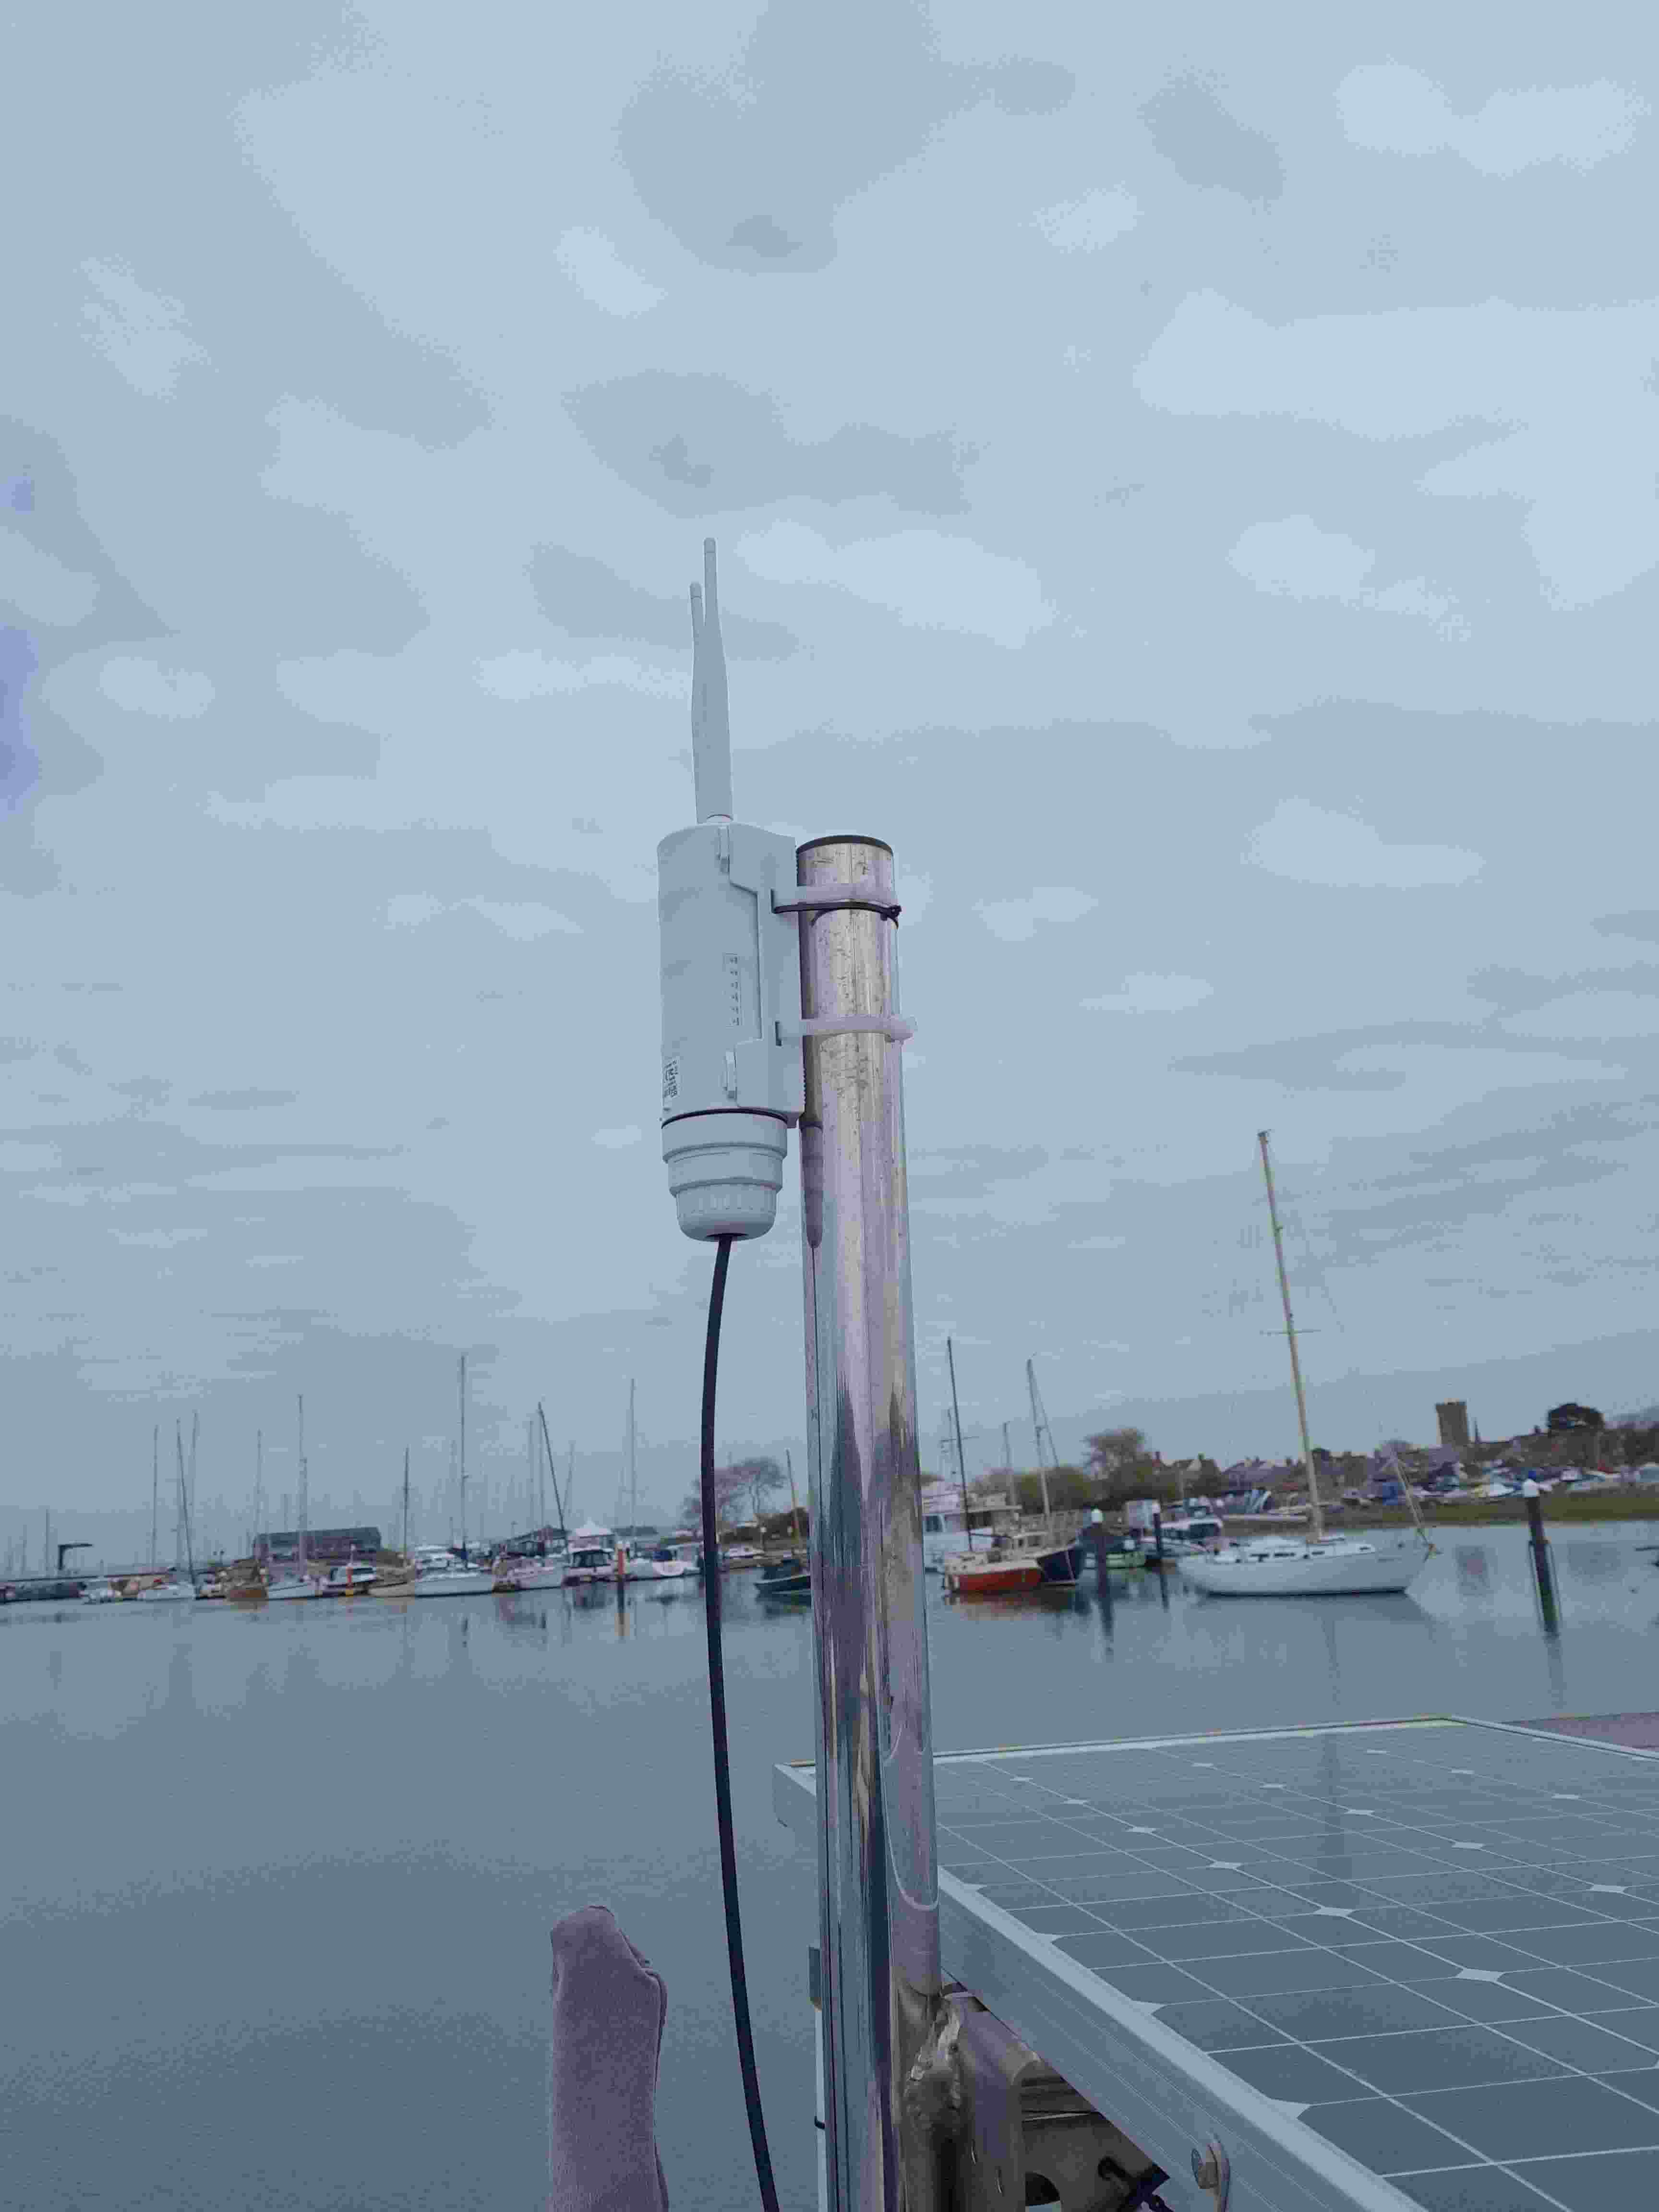
also fitted a cheap (Aliexpress) Wifi router to the gantry
so that using a sim card we have a wireless internet
connection while we are within range of a mast. This
should give us around 18 miles range. Illustration
6: Wifi router on the gantry housing a sim card New
tablet When we
went off on our boat for a year we had a standard Samsung
tablet with Navionics on it, we
always struggled with its battery life and that tablet has since died. So we have purchased
a new tablet; waterproof, ruggedised and with a big battery. We found previously
that it was really good being able to navigate standing
in the cockpit, rather than having to be below when it
was rough, also entering a harbour is easier if you
don't have to run up and down the companionway to check
your location. OUKITEL
RT9 Rugged Tablet - Android 14, 10.1 Inch, 24GB+256GB (TF
1TB), 11000mAh, 16M+16M, IP68 Waterproof, Dual 4G LTE SIM,
5G-WiFi, OTG, GPS, Gaming – Orange £160 from Amazon.
Navionics app installed £40 Chart
systems We are
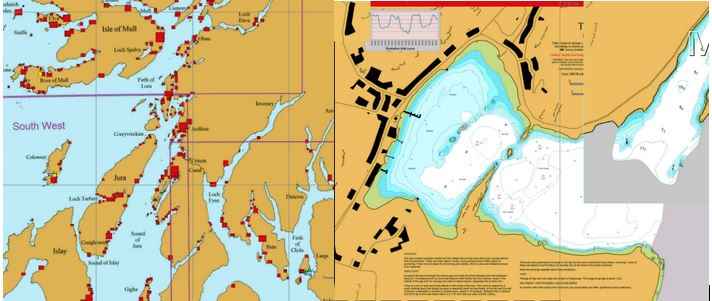
carrying a full set of paper charts for the trip plus:- Antares
charts https://www.antarescharts.co.uk/ For the
grand sum of £20 these are a set of 817 very detailed
charts showing anchorages in the West coast of Scotland
that would be difficult to enter safely in hidden away
places. They can be used on devices that can handle apps
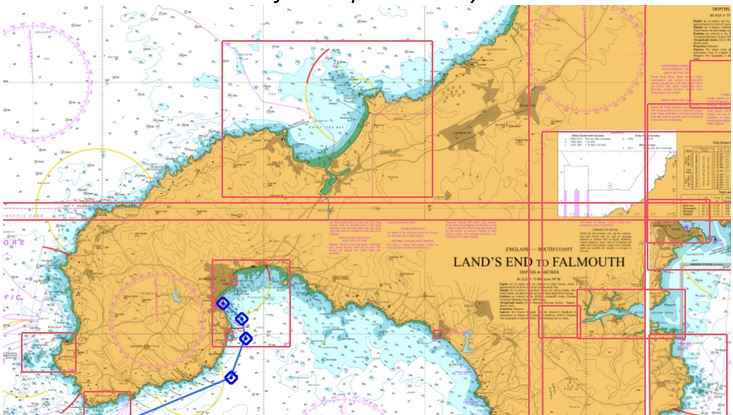
like Open CPN or Memory-Map “Visit
my Harbour” Unified charts These
charts give a full set of charts that would allow the user
to circumnavigate UK & Ireland for £27. They appear to
be just like Admiralty Charts and can be zoomed in with
detailed entrances to main harbours etc. https://www.visitmyharbour.com/articles/category/872/unified/ Illustration
8: screenshot of a sample “Visit my Harbour” chart
around Lands End
|